For perfSONAR tests to work correctly, it is critical that the Network Time Protocol (NTP) be configured properly. Almost all the measurements require an accurate system clock to calculate time-based metrics. Failure to have a synced clock can lead to unexpected results such as negative latency values. It is recommended to sync with 4-5 servers (not more), and that they all be fairly close in proximity (less than 20ms RTT). The perfSONAR web interface provides a convenient way to configure NTP. It allows you to select time servers using the following methods:
Note
www.pool.ntp.org servers are not typically accurate enough for perfSONAR’s requirements, and should be avoided.
Open http://<hostname> in your browser where <hostname> is the name of your toolkit host
Click on NTP in the left-hand menu
See also
See Managing Users for more details on creating a web administrator account
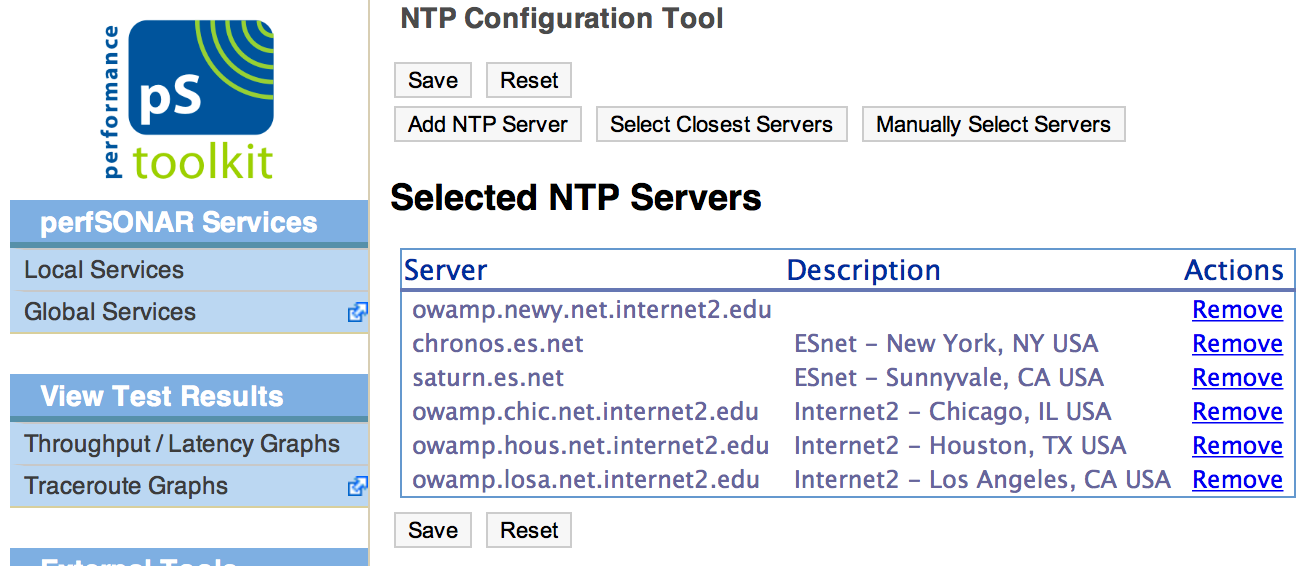
The page that loads can be used to manage NTP. See the remainder of this document for details on using this interface.
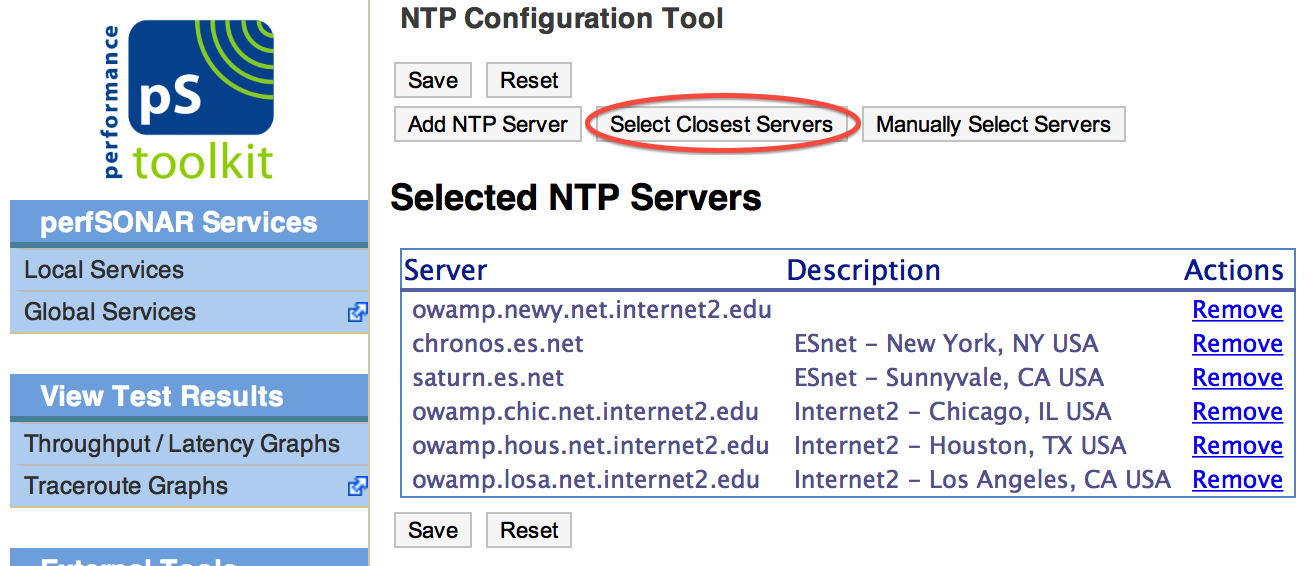
On the main page of the NTP web interface, click Select Closest Servers
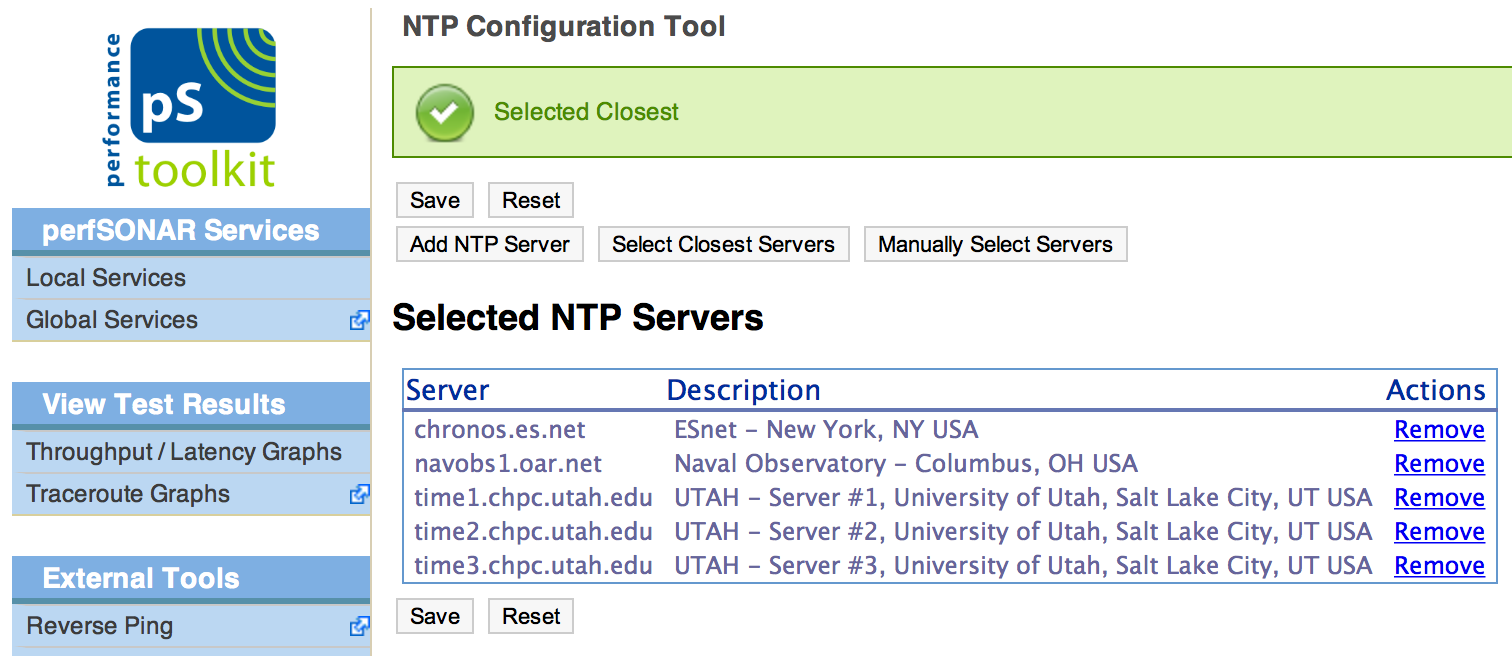
After a loading screen you should see a green success message with the list of selected servers below it. Note that by default perfSONAR selects the closest servers so it is possible this list will remain unchanged.
Click Save to apply your changes
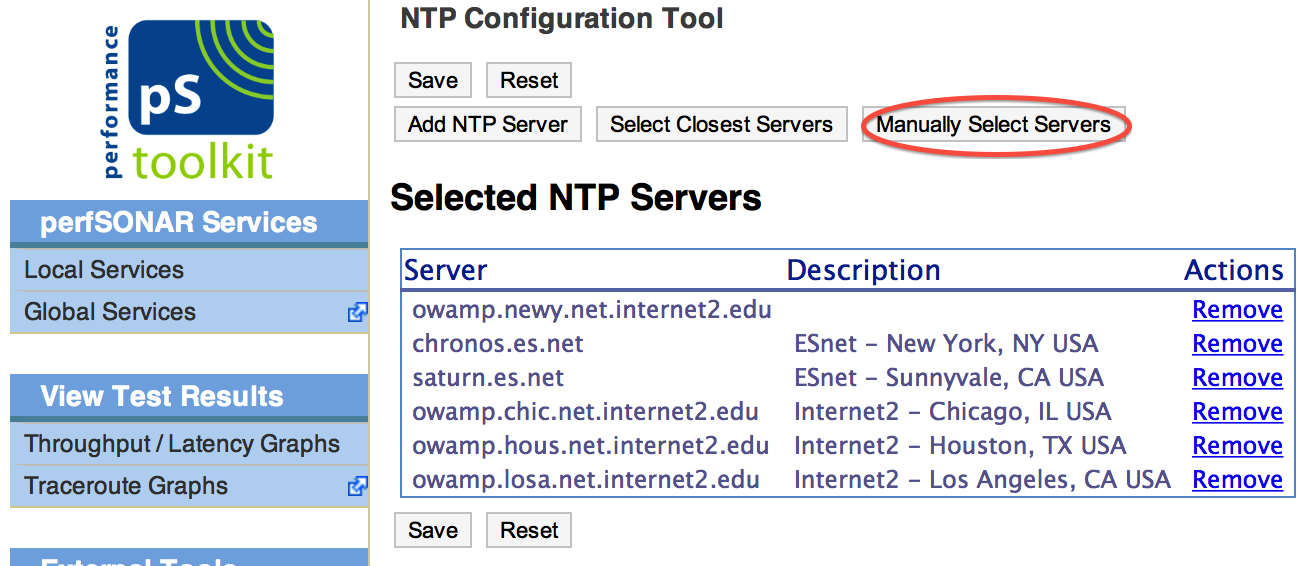
On the main page of the NTP web interface, click Manually Select Servers
A rather long list of NTP servers loads. Select the servers you’d like to use with the checkbox next to the name. Also, be sure to recall previously mentioned guidelines about good NTP server selection (4-5 servers less than 20ms RTT away).
Click Save to apply your changes
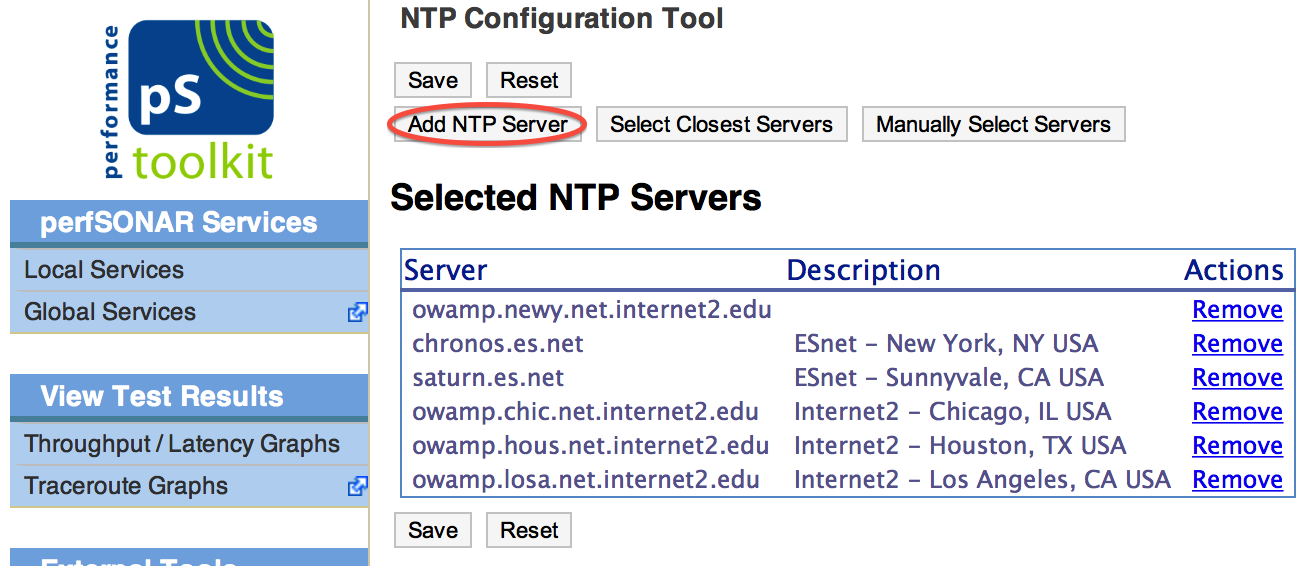
On the main page of the NTP web interface, click Add NTP server
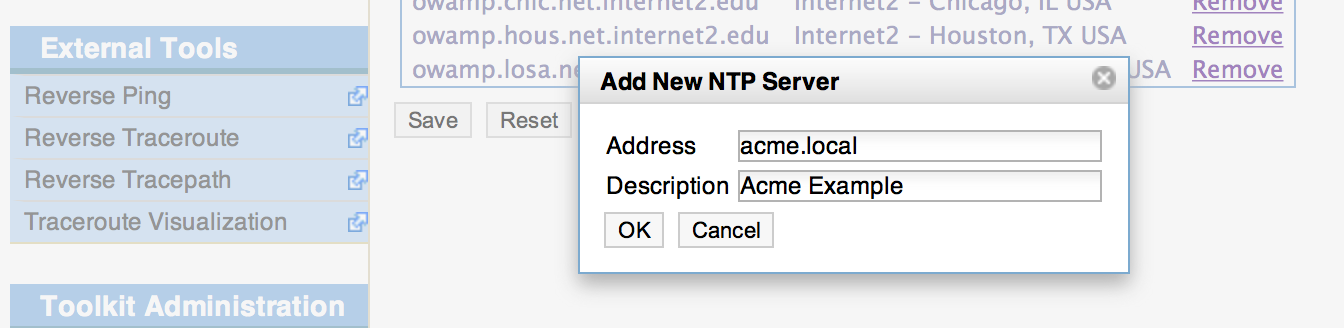
At the prompt enter the address and a human-readable description of the NTP server and click OK
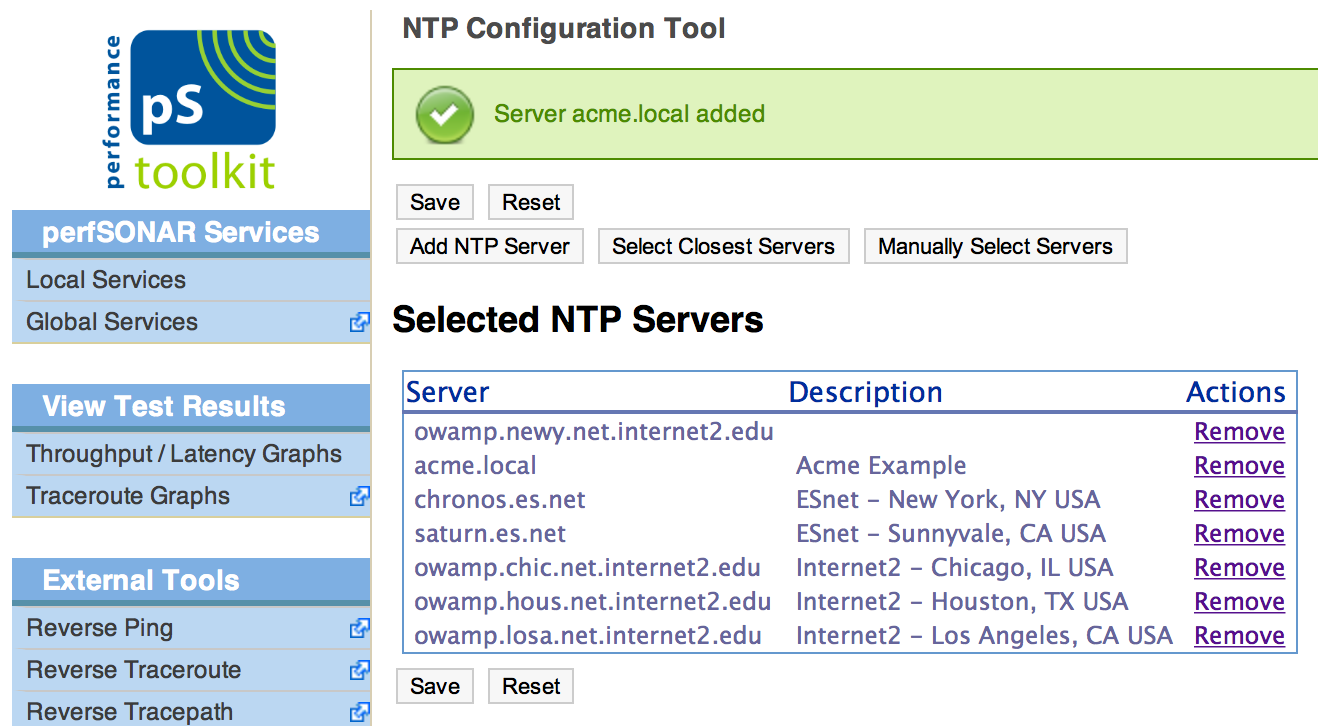
You should see a success message and your NTP server in the list
Click Save to apply your changes
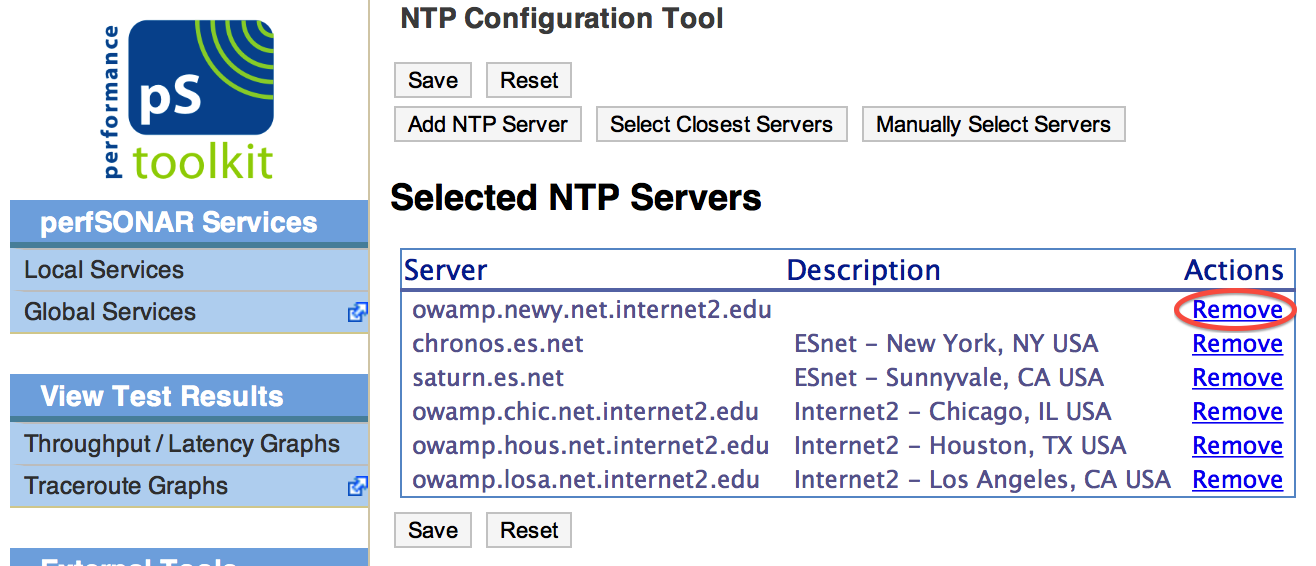
If you wish to deselect a server so that it remains in the known servers list but is not actively used to sync the clock then perform the following steps:
On the main page of the NTP web interface, click Remove next to the server you want to deselect
On the page that loads you should see a success message and that the list no longer contains your NTP server
Click Save to apply your changes
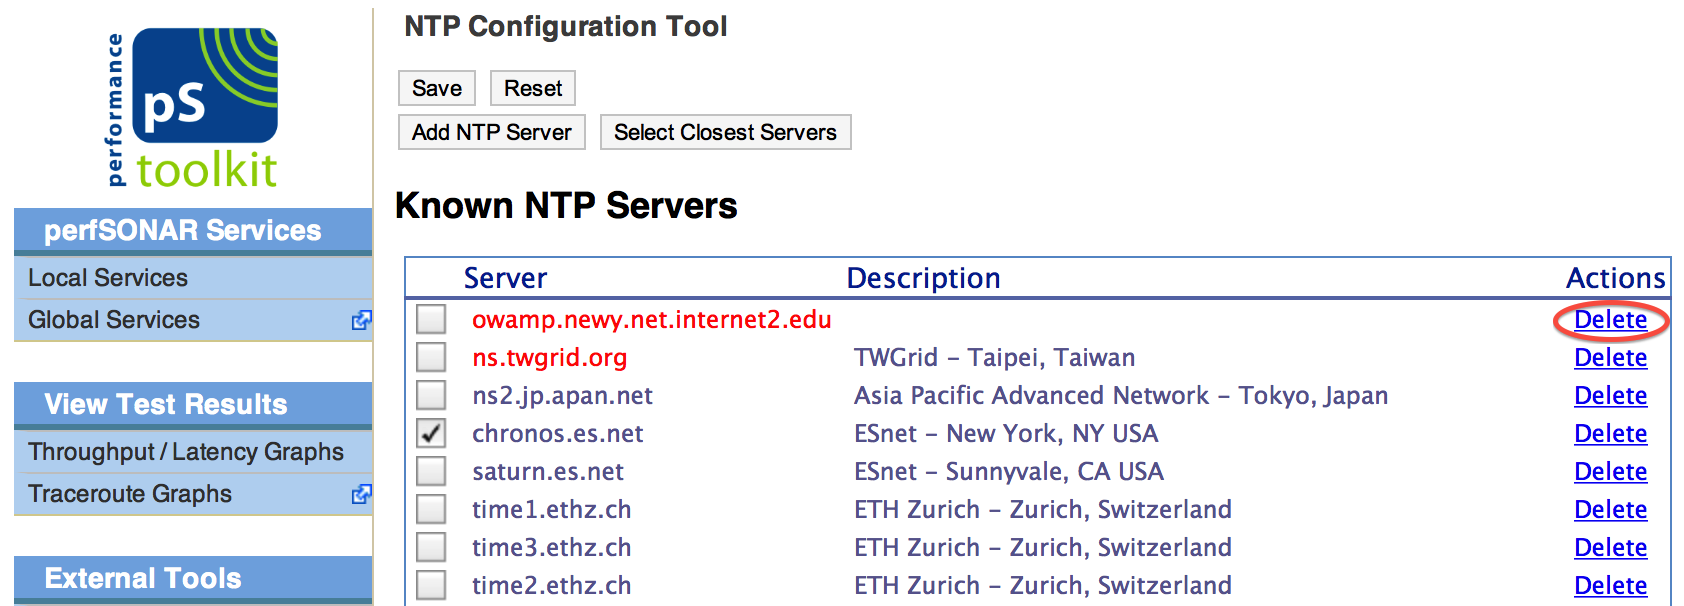
You may wish to permanently remove a server from the list of known servers. This removes it from consideration for closest server entirely and prevents accidental selection of the server by removing it from the list entirely. This task may be executed with the following steps:
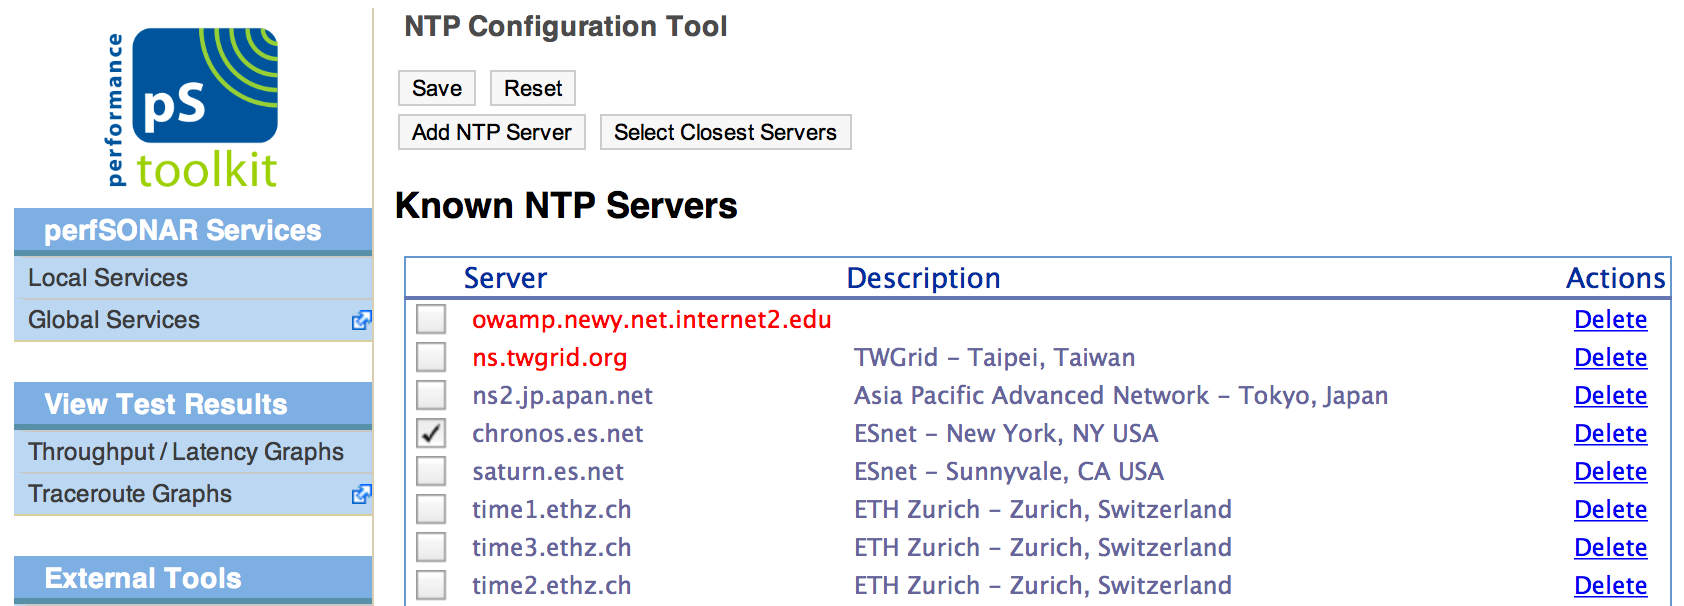
On the main page of the NTP web interface, click Manually Select Servers
A rather long list of NTP servers loads. Click Delete next to the server you wish to remove from the list
A success message should display indicating the server was deleted and it should no longer be in the list
Click Save to apply your changes