CentOS Full Install Guide
The CentOS Full Install distribution is an ISO image that can be mounted to a DVD or USB drive. The image contains all the required packages so Internet connectivity is not required for the initial install. The document describes step-by-step how to install this distribution.
Step-by-Step Guide
Download the ISO image appropriate for your architecture from Downloads or below:
Verify the md5 checksum by verifying the two lines output are the same when you run the command below (replace the filenames with that of the downloaded iso and md5). If they do no match then you may need to re-download the iso images:
$ md5sum pS-Performance_Toolkit-FullInstall-3.X.iso;cat pS-Performance_Toolkit-FullInstall-3.X.iso.md5
- Mount the ISO to a DVD or USB drive
Note
The Full Install ISO is generally too large to fit on current writable CDs
Note
Detailed instructions on mounting an ISO image to the above media is beyond the scope of this document. Linux and Macintosh users may consider using the dd tool: sudo dd if=/PATH/TO/FILE.iso of=/dev/DISK
Insert the media containing the ISO into the target end system
Power on the host
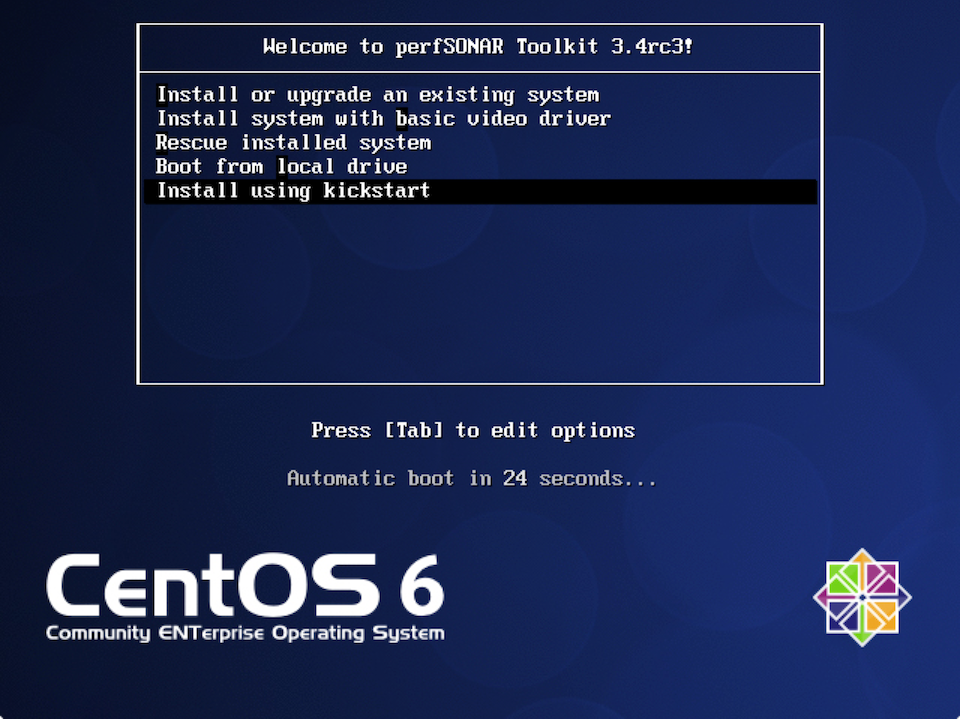
- You will be presented with a screen asking you to select how you want to install the system. Select Install using kickstart and hit enter (or wait 60 seconds for installation to automatically proceed).
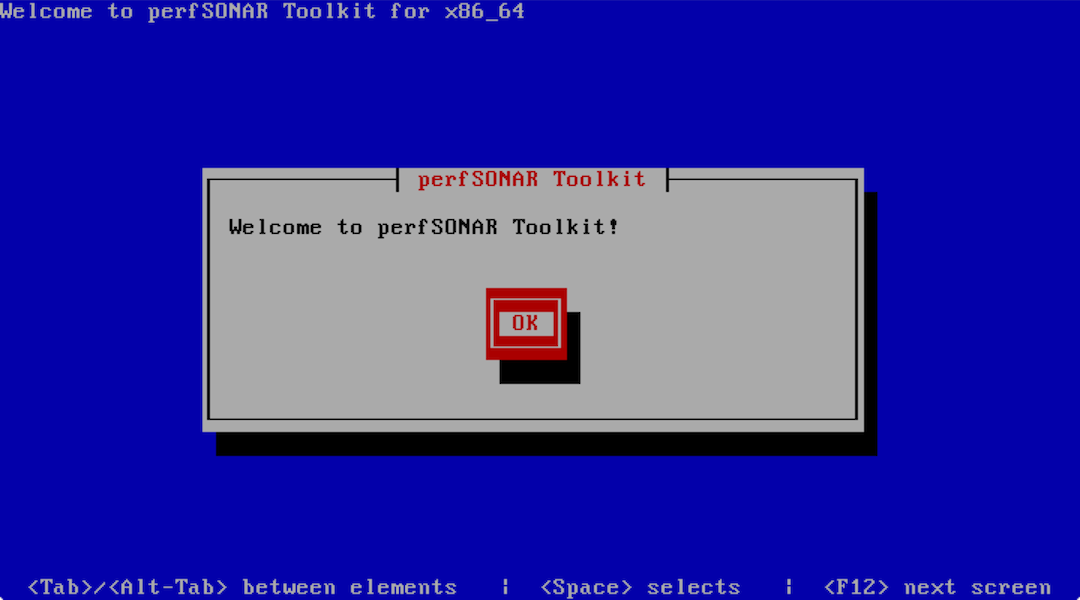
- You will now be presented with a welcome screen. Use tab on your keyboard to select the OK box and hit Enter to continue.
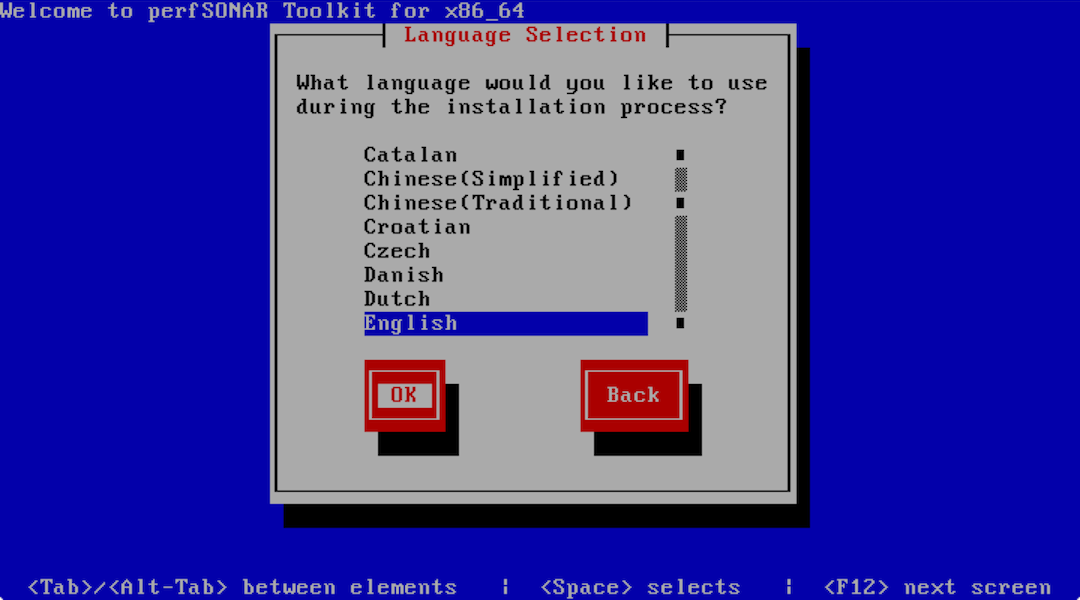
- You will next be asked to select your language. Make your choice and select OK to continue.
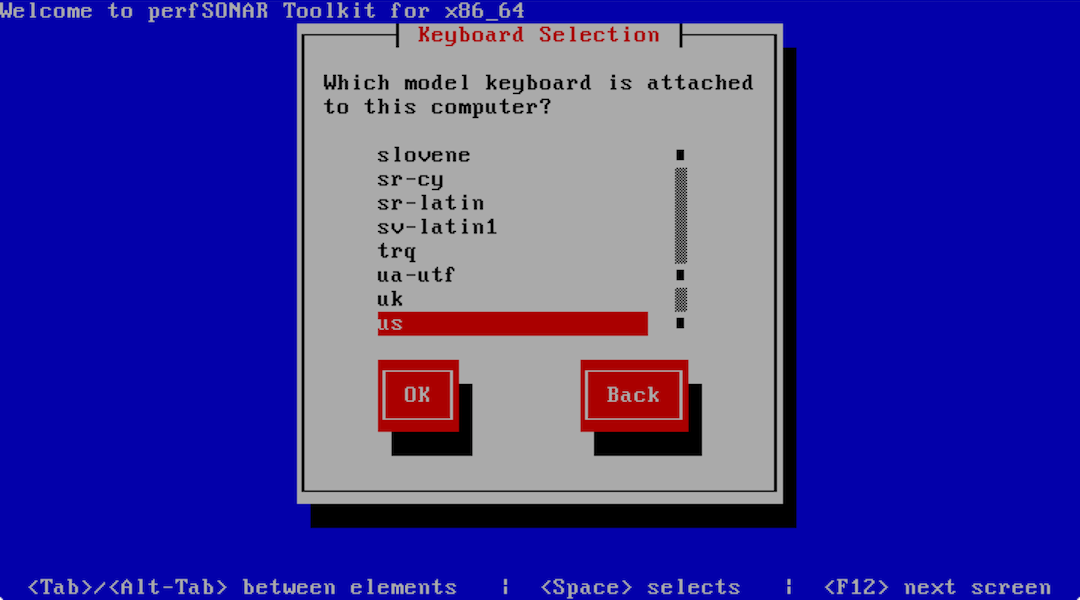
- On the next prompt select your keyboard layout and select OK to continue.
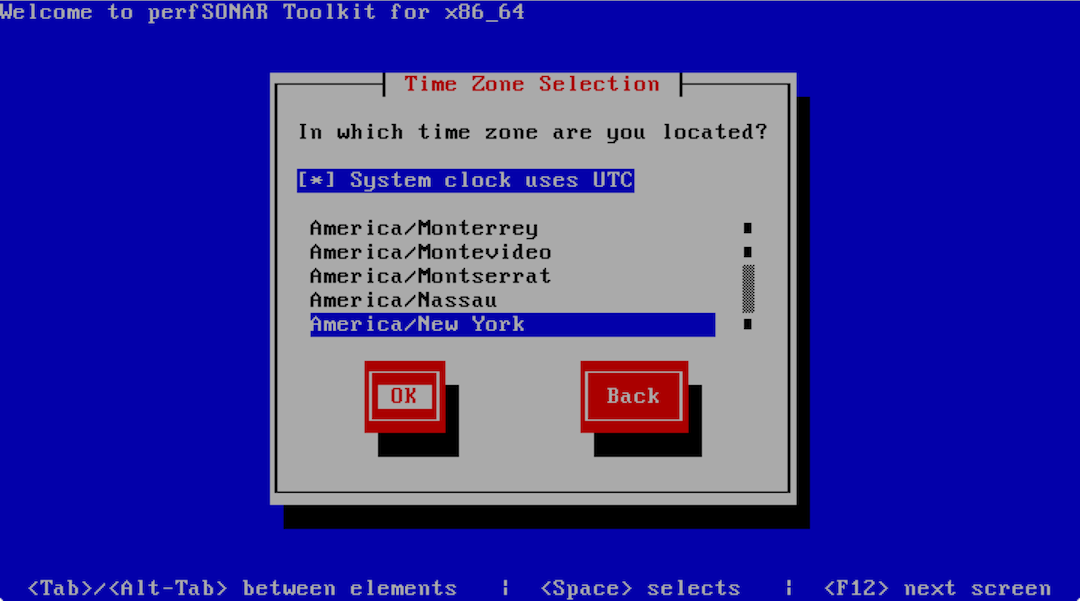
- The next screen asks you to select a timezone. Make your choice and select OK to continue.
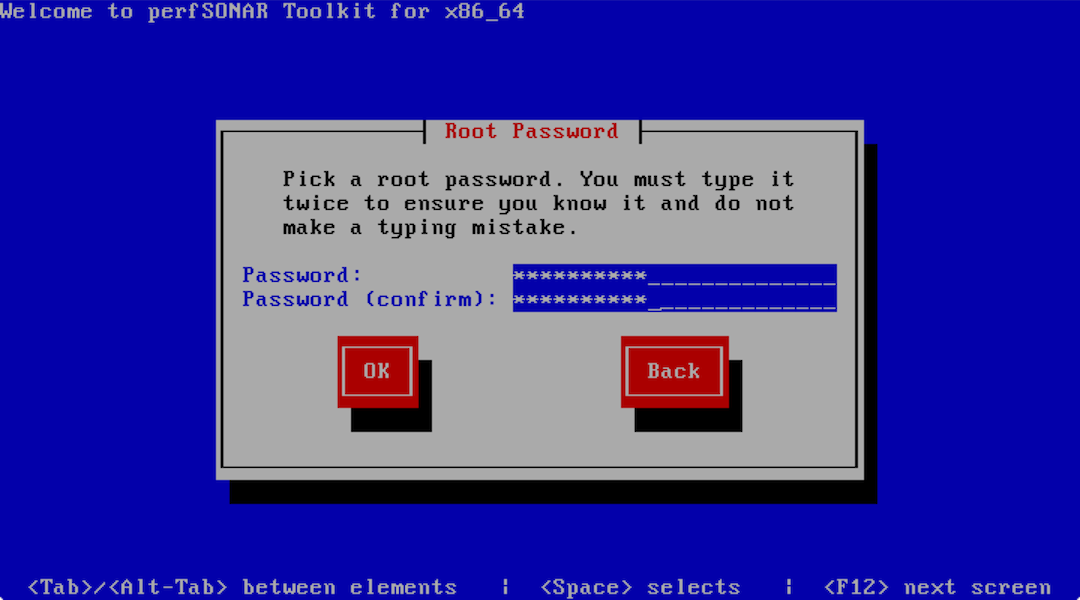
- You will now be asked to set your root password. Please make note of this password as it will be required to login to the host after installation completes. Normal precautions should be taken to protect the root password as it can be used to make changes to the system. For example, safe password practices would recommend a password that contains a mixture of letters of different case, numbers, symbols, and a length greater than 8. It is also not recommend to re-use passwords on multiple machines, in the event of a system breach. After entering and confirming the password tab to the OK box and hit Enter on your keyboard.
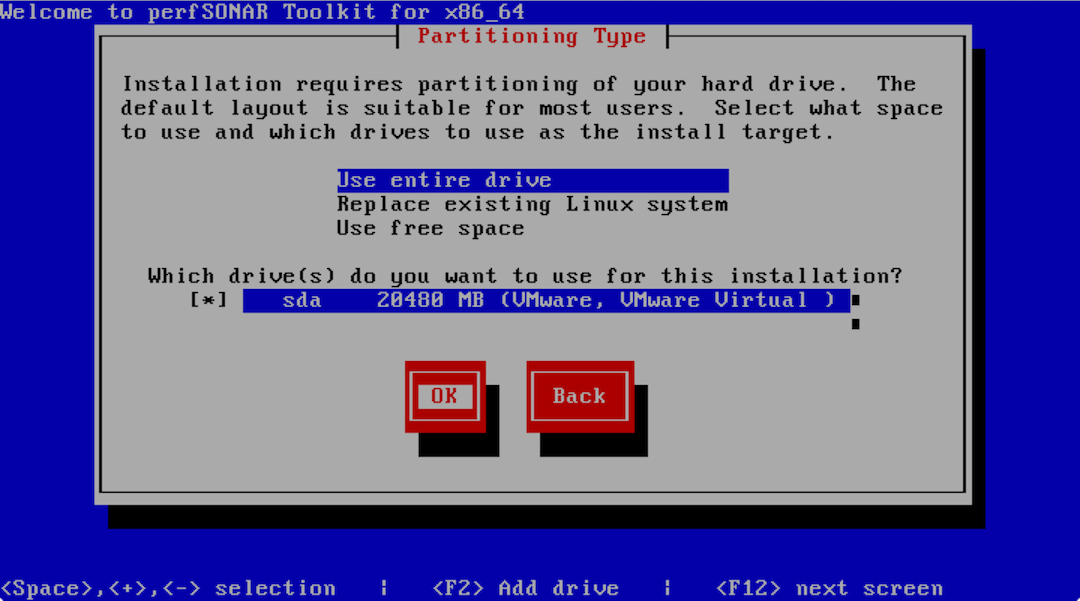
- The next screen asks you where you would like to install the operating and how you would like to partition the drive. After you have selected the desired partitioning scheme and hard drive, select OK and hit Enter on your keyboard. The following options are available for partitioning:
- Use entire drive - Use this option if there is nothing else installed on the selected hard drive. It will remove any existing data on the hard drive and dedicate the entire disk to the operating system
- Replace existing Linux system - This option removes any Linux partitions on the disk but will keep any non-Linux partitions.
- Use free space - This option will not touch any existing partitions and will give any remaining space to the hard drive.
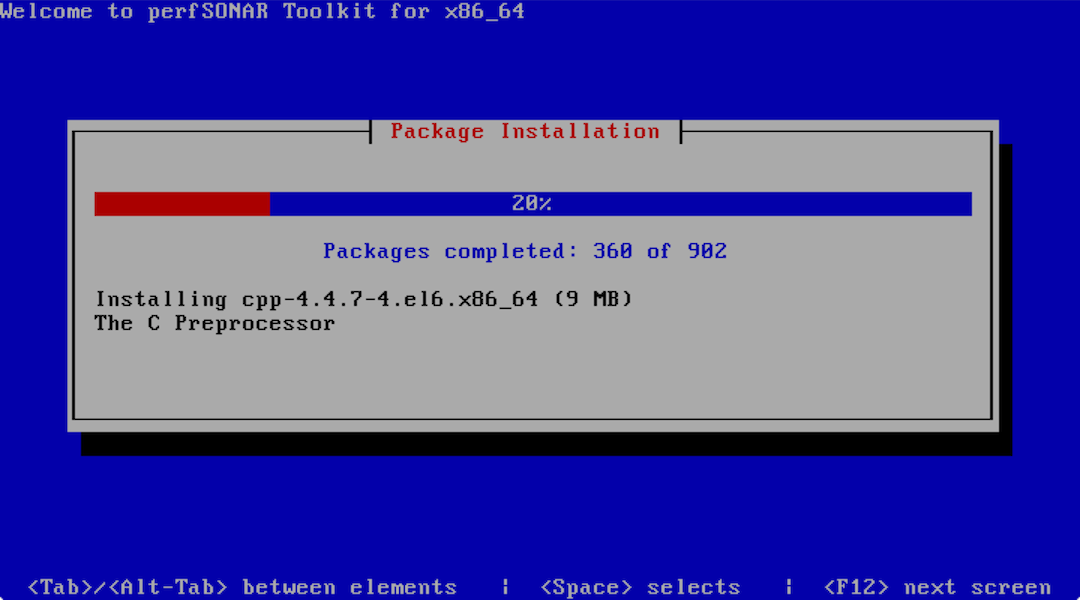
- You will next see a series of loading screens as packages are installed. You do not need to do anything except wait.
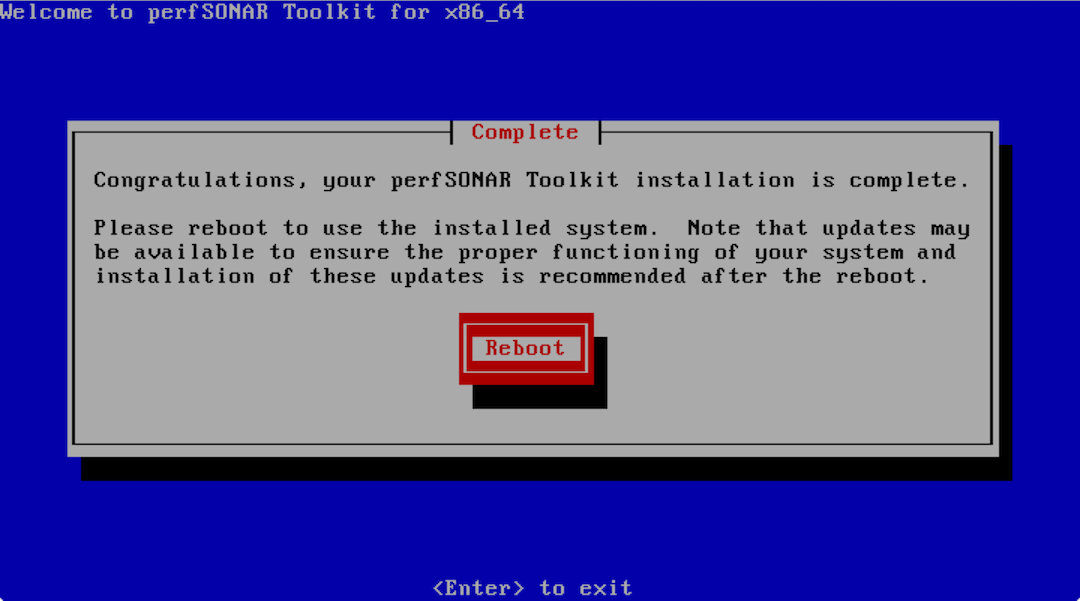
- If the installation is successful you will be presented with the screen below. Select Reboot to restart the host.
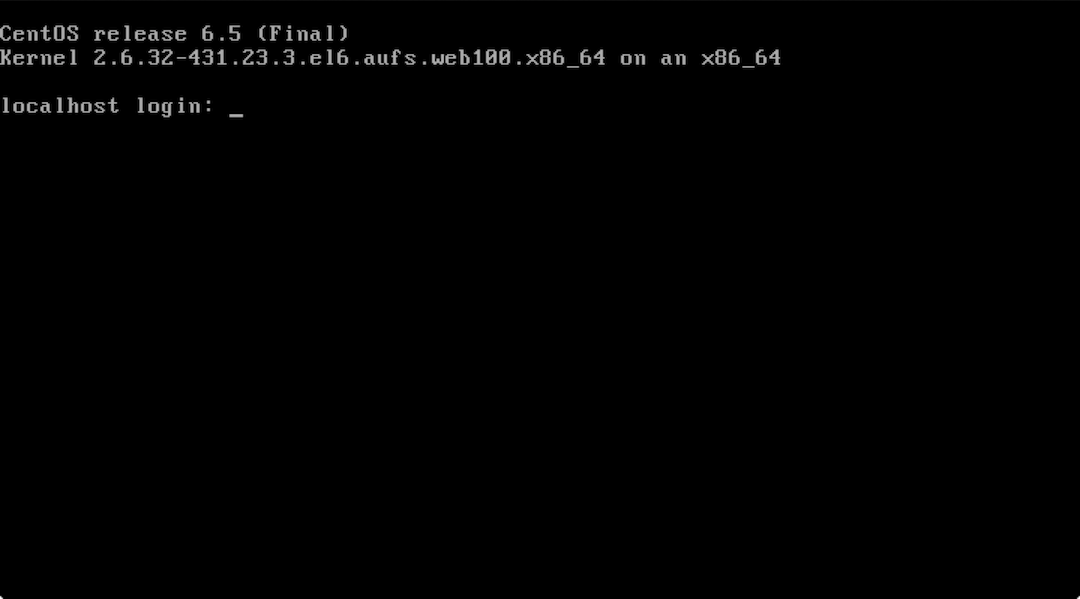
- After the reboot you will be presented with a login screen. You can login with the root user and the password set during the installation process. You are now ready to move on to Configuring the Toolkit for the First Time
