Once you define your Host Groups and Test Specs, you can now define a meshconfig by combining those entities.

Under “Configs” tab, you immediately see “Auto Mesh Config”. Auto Mesh Config a special meshconfig which is generated by aggregating all tests defined in vairous meshconfig for a specific host. Auto meshconfig is useful if you want to configure a toolkit instance so that it will run all tests defined by any meshconfigs rather than picking a specific meshconfig.
To generate Auto meshconfig, simply choose a hostname from the hostname dropdown list.
Here is an example of Auto Mesh Config URL
http://meshconfig-itb.grid.iu.edu/meshconfig/pub/auto/psmsu01.aglt2.org
You can modify the trailing hostname to create a different auto-URL.

Under the “Auto Mesh Config” section, you will see a list of meshconfig defined and their basic information. The links displayed next to the config name is the actual meshconfig URLs that users can download and subscribe on various perfSonar services. To edit, or see more detail for each meshconfig, click on a pencil button (or “eye” button if you don’t have edit access) on the right side of the record.
Start adding a new mesh config by clicking “Add New” at the buttom of the page.

Each meshconfig can contains more than 1 tests. To add a new test, click “Add New Test” button.

Enter a name for this test, and select service type and meshtype. See type Directive for more detail.
Once you select service type and meshtype, you can now select hostgroup(s) and testspec. MCA shows members of the host group you have selected as shown below.

After you’ve added all tests, please be sure click “Update” at the bottom of the page to save your changes.
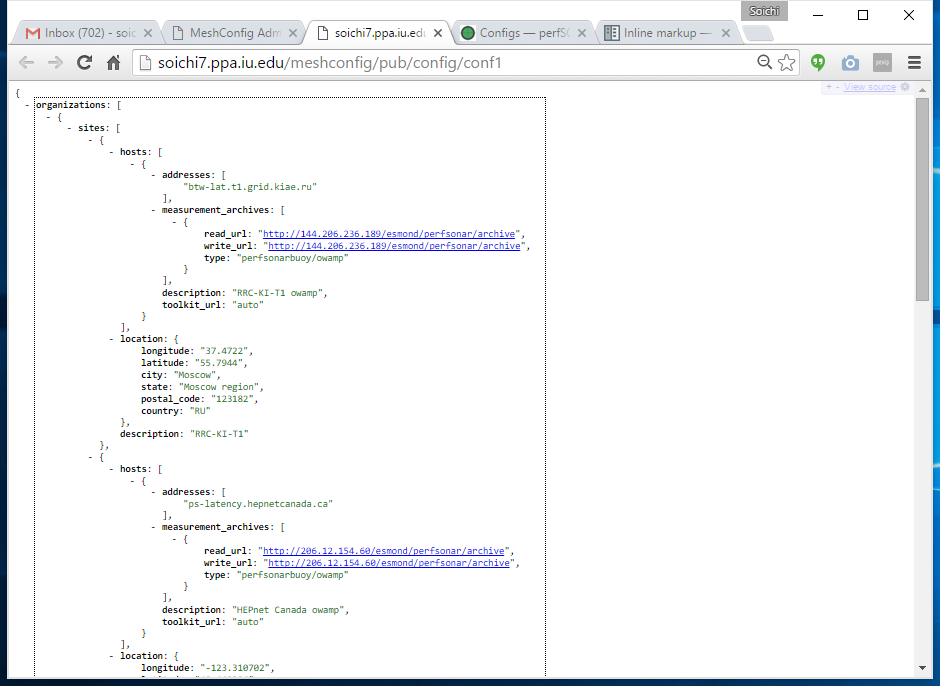
You should now able to browse generated meshconfig via the link shown on the Configs list page.


If you want to browse JSON files formatted in human readable way, you can install JSONView extension for Chrome, or similar plugins for other browsers.