Just like any other host on your network, it is critical to stay up-to-date with the latest packages on your perfSONAR Toolkit. You will want to make sure you have the latest security fixes as well as the ability to take advantage of the great new features constantly being added to the tools. In general you will keep your host up-to-date with the operating system’s package manager (e.g. yum), but in some special cases things may be more involved. Be sure to watch release notes and this page when such cases arise.
Anytime you want to manually update your host, simply run the following:
yum update
The yum package manager is used by RedHat-based operating systems like CentOS to update packages. Running the command above will download the latest perfSONAR packages as well as any operating system packages available.
Note
The Toolkit runs a Web100 patched version of the kernel. In some cases CentOS may release a new kernel before the perfSONAR development team has had a chance to create and test a patched version. This will cause an unpatched version to be downloaded, thus disabling the tools NDT and NPAD that rely on the patch. For some users that do not leverage these tools this may not be a concern. Please see our FAQ for more details.
Note
Automatic updates are enabled by default starting in version 3.4 of the perfSONAR Toolkit.
You may choose to enable automatic updates to aid in applying the latest software packages to your system. Automatic updates include all perfSONAR, operating system and third-party packages. Enabling this feature will help keep the latest security fixes on the system, but keep in mind it is possible some updates may break your host unexpectedly. Specifically, kernel updates may break NDT and NPAD if a non-web100 version is applied. See this FAQ for more information. The following rule of thumb from Fedora may be useful when considering whether to enable this feature:
If the machine is a critical server, for which unplanned downtime of a service on the machine can not be tolerated, then you should not use automatic updates. Otherwise, you may choose to use them.
It is also important to note that automatic updates do not perform all required system reboots or service restarts. Also, auto-updates happen nightly so there may be a period of up to 24 hours where you do not receive a patch. Enabling this feature still requires close monitoring of the host to make sure all updates are applied completely and properly.
You may enable/disable automatic updates from the web interface as follows:
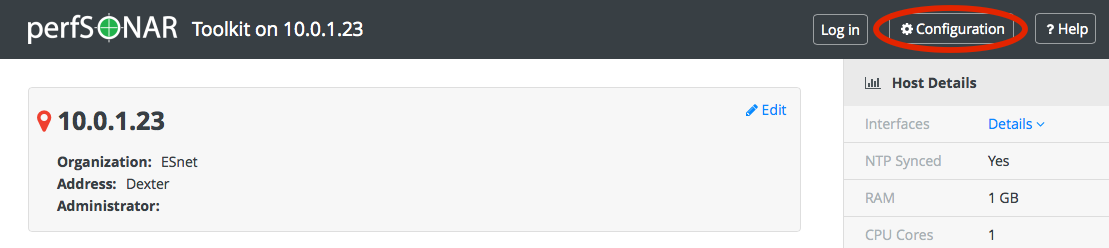
Open your toolkit web interface in a browser
Click on Configuration in the upper right-hand menu
Login using the web administrator username and password.
See also
See Managing Users for more details on creating a web administrator account
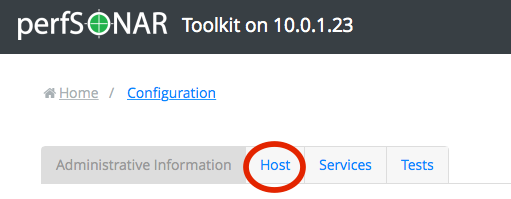
Click he Host tab on the page that loads
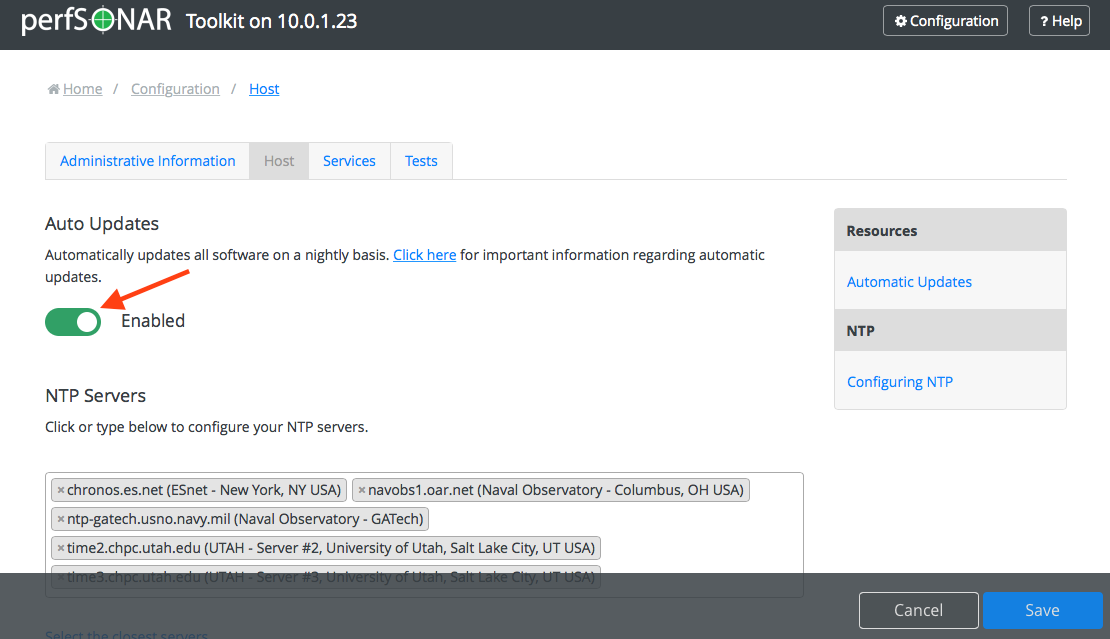
On the page that loads click the button under the Auto Updates heading to enable or disable auto-updates as indicated by the color and status text of the button.
Click Save to apply your changes
After a loading screen you should see a message at the bottom indicating your changes have been saved.
Alternatively, you may enable them from the command-line with the following commands (must be run as a root user):
/sbin/chkconfig --add yum-cron
/sbin/chkconfig yum-cron on
/sbin/service yum-cron start
Likewise, you may disable auto-updates from the command-line by running:
/sbin/service yum-cron stop
/sbin/chkconfig yum-cron off
Also note that the main configuration file for auto-updates lives at /etc/sysconfig/yum-cron. See the yum-cron man page or the page here for more information on using auto-updates and advanced options like excluding packages from updates.