The CentOS NetInstall distribution of the perfSONAR Toolkit is an ISO image that can be mounted to a CD, DVD, or USB drive. The image does not contain any of the packages, but will download them from a remote location at install time. The document describes step-by-step how to install the NetInstall distribution.
See also
See Choosing a Toolkit Installation Method for more information on choosing an installation type.
Download the ISO image appropriate for your architecture from Downloads or below:
Verify the md5 checksum by verifying the two lines output are the same when you run the command below (replace the filenames with that of the downloaded iso and md5). If they do no match then you may need to re-download the iso images:
$ md5sum pS-Toolkit-3.X-NetInstall-i386.iso;cat pS-Toolkit-3.X-NetInstall-i386.iso.md5
Note
Detailed instructions on mounting an ISO image to the above media is beyond the scope of this document. Linux and Macintosh users may consider using the dd tool: sudo dd if=/PATH/TO/FILE.iso of=/dev/DISK
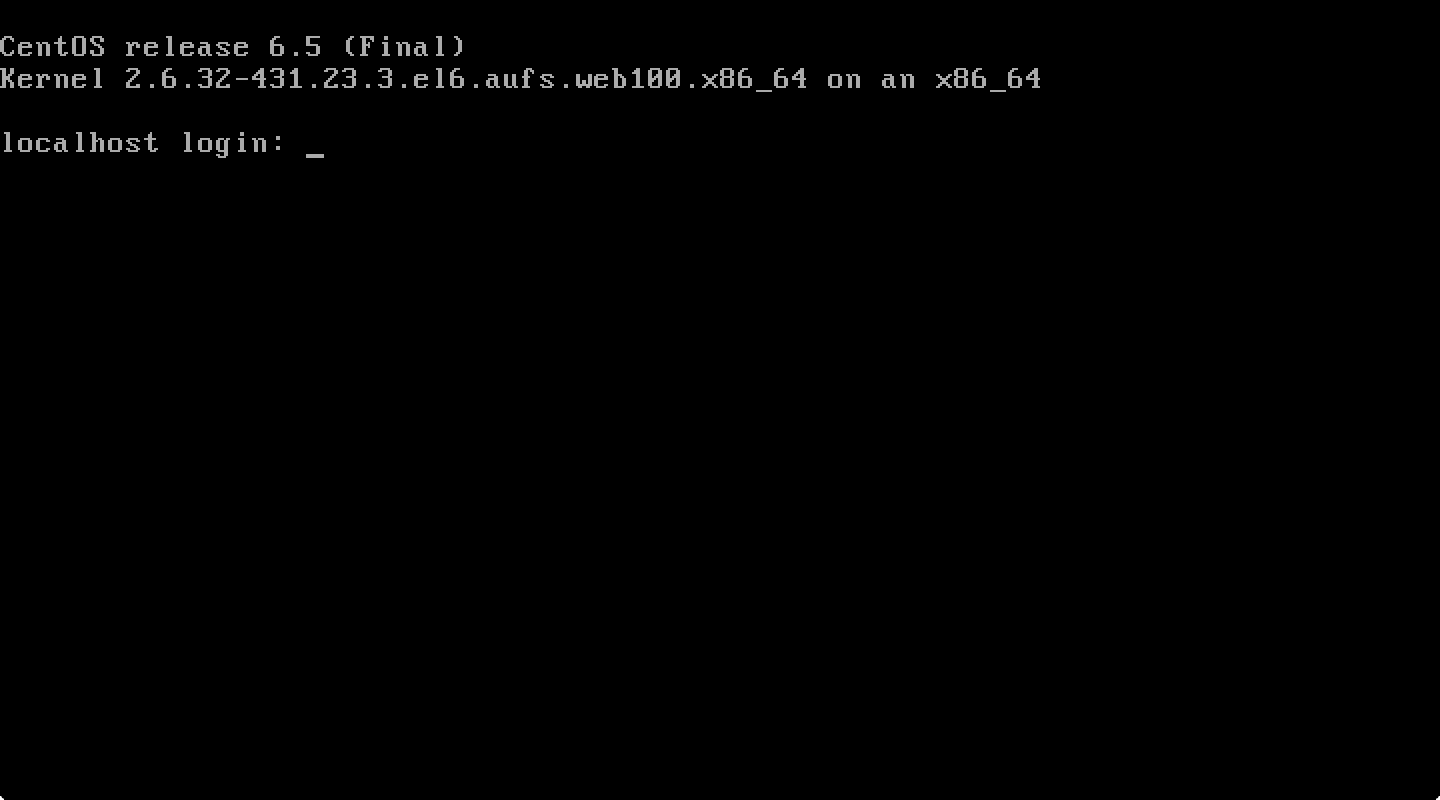
Insert the media containing the ISO into the target end system
Note
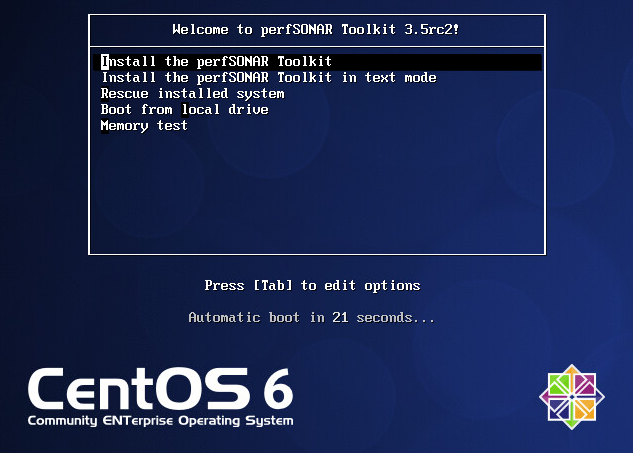
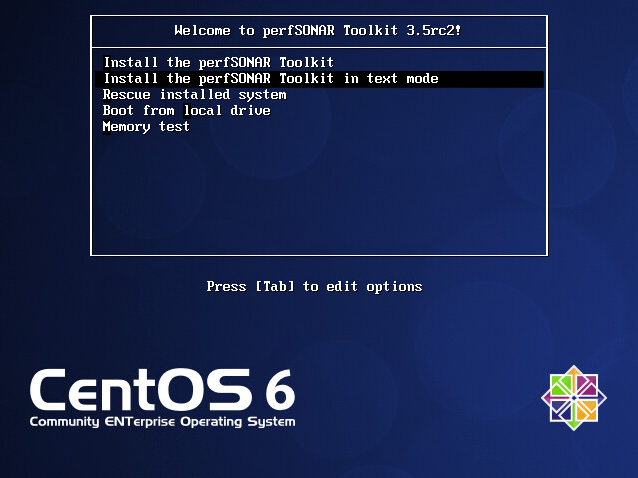
By default the NetInstall will use a graphical installer. This provides more options related to partitioning and may be more appropriate for those with access to a monitor. For text mode installation guide see Step-by-Step Guide using text mode
Note
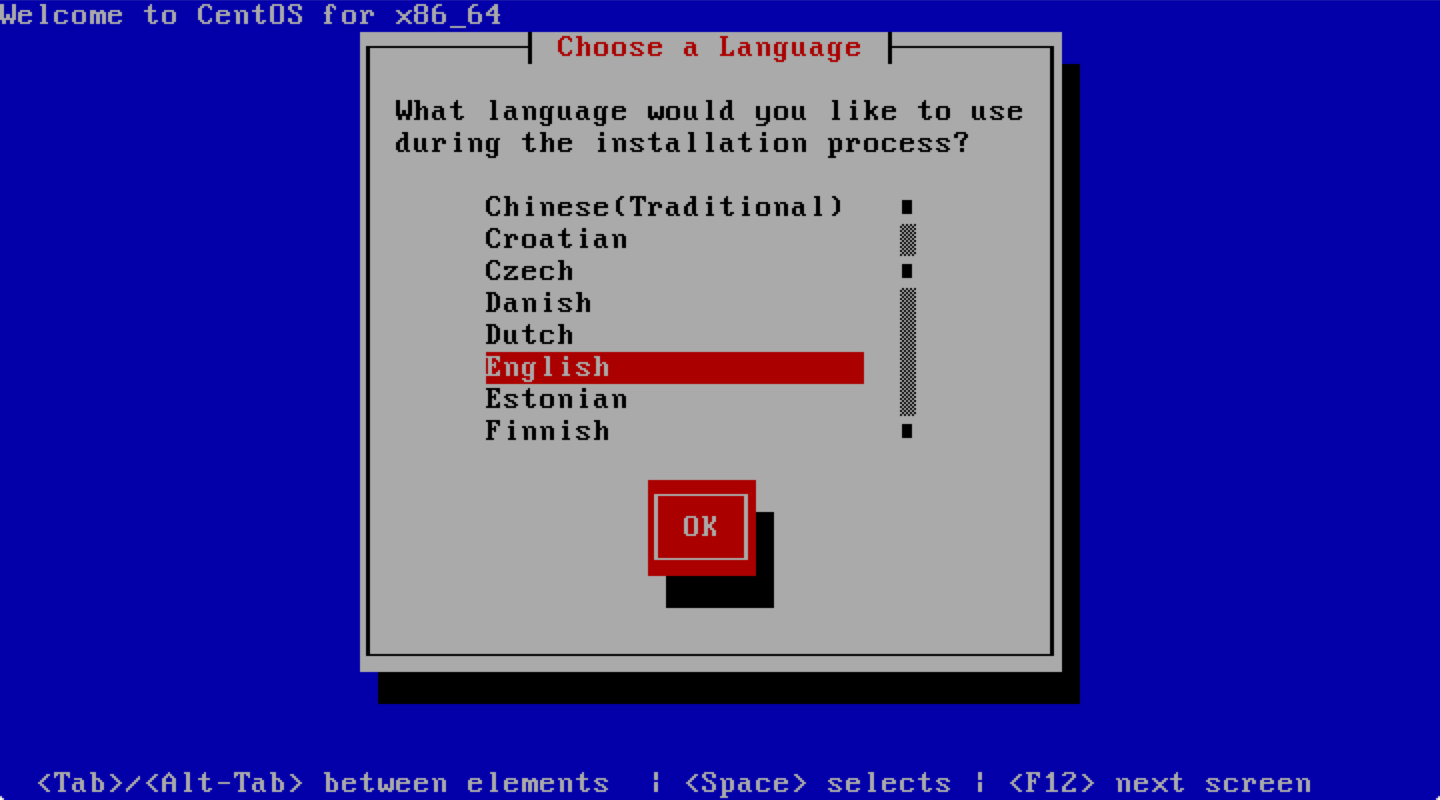
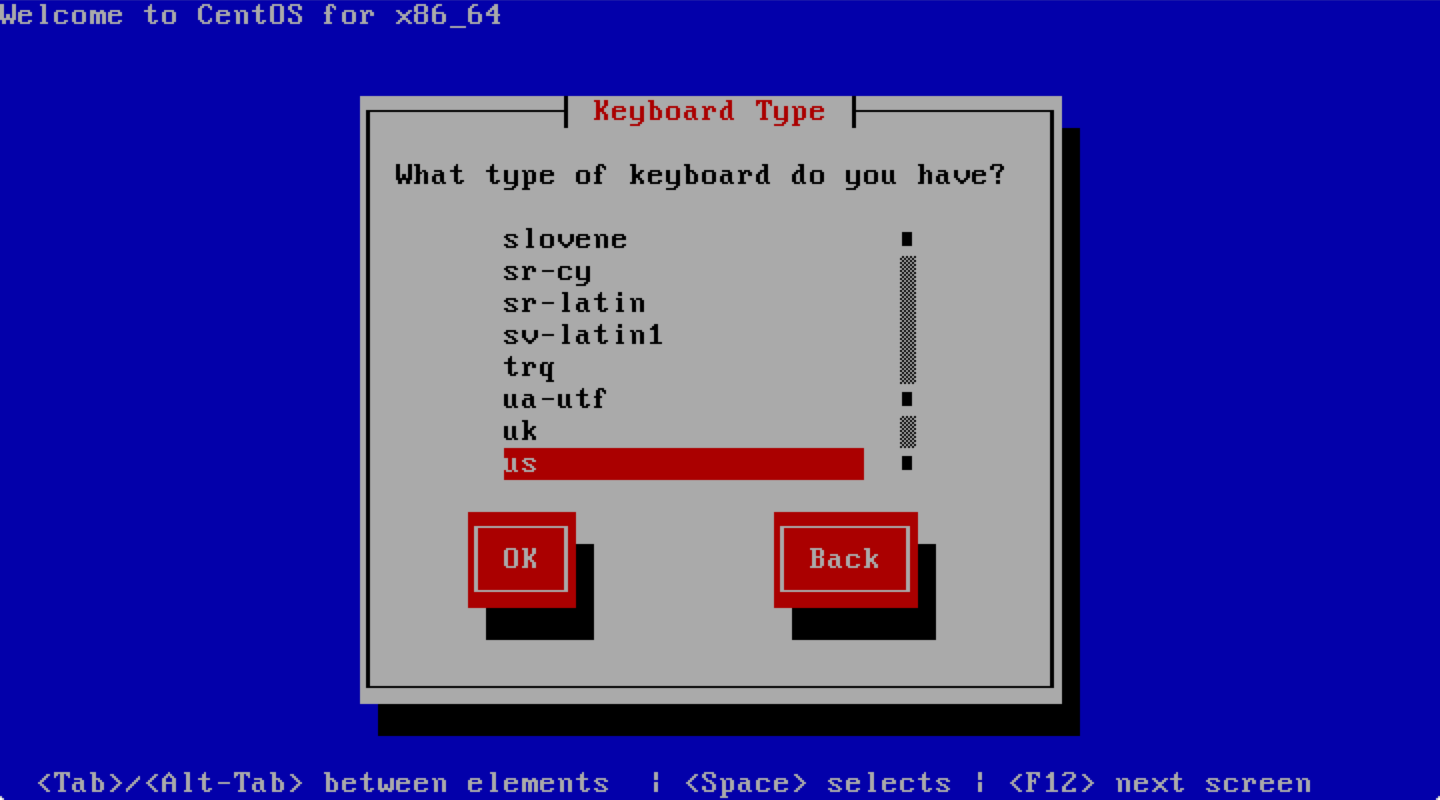
NetInstall will use a text mode for a few first screens. After downloading the image it will enter graphical mode.
Special Topic: Static Networking and Web Proxies
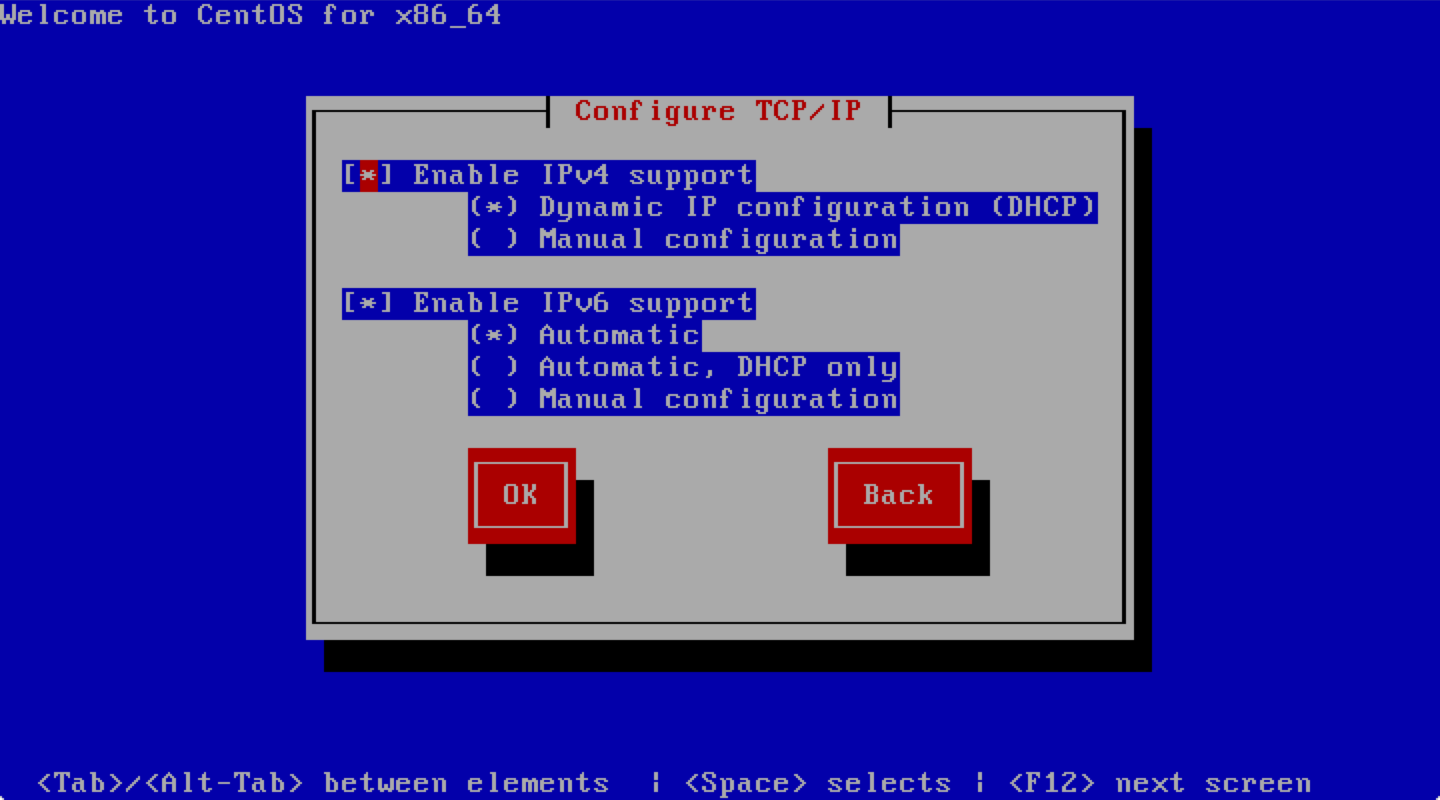
First you will be presented with a screen asking how to configure IPv4 and IPv6 on your host. You may assign a static address by using the tab key to select Manual Configuration.
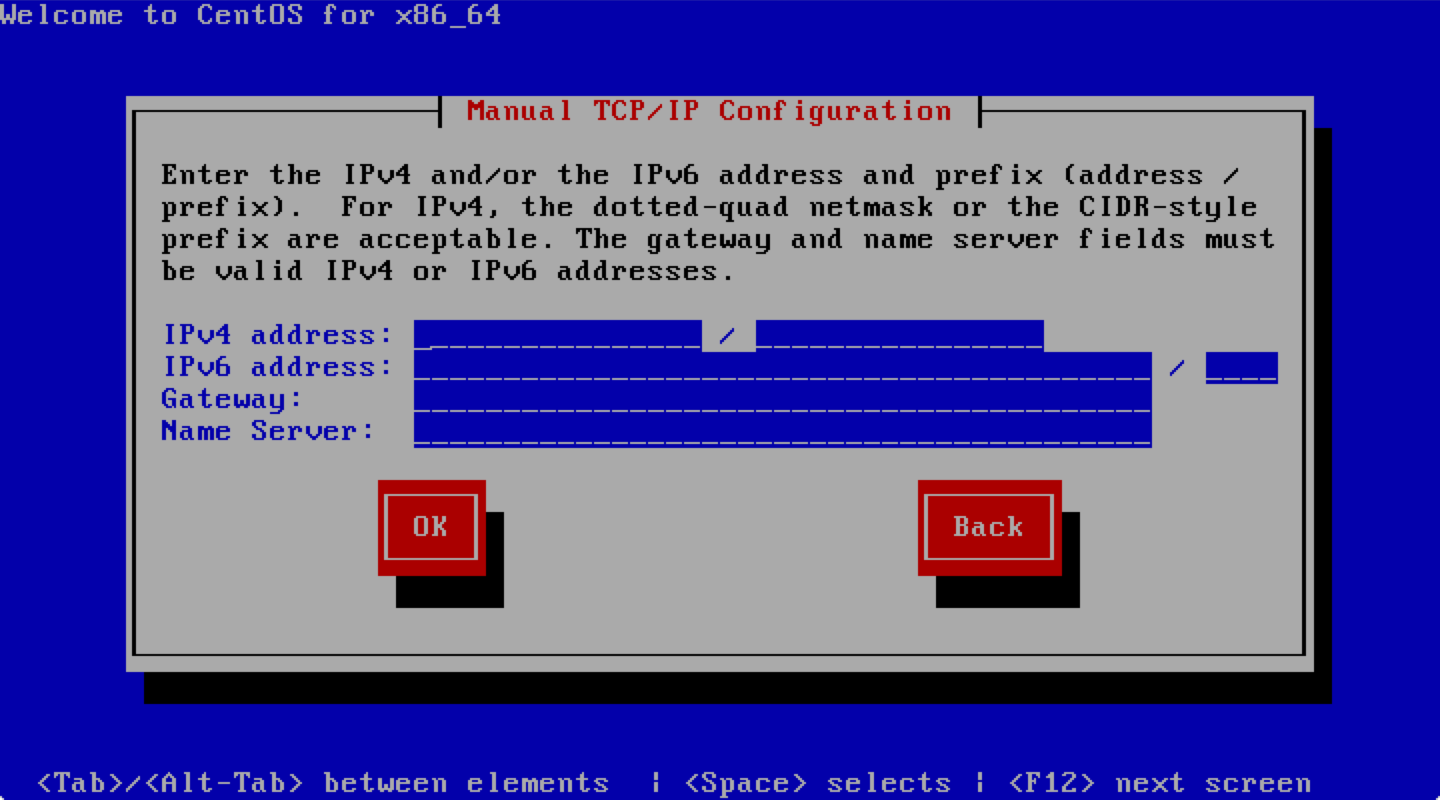
If you select Manual Configuration you will get the screen below asking you to enter the IP addresses, netmask, gateway and DNS server. Enter the required information and select OK to continue.
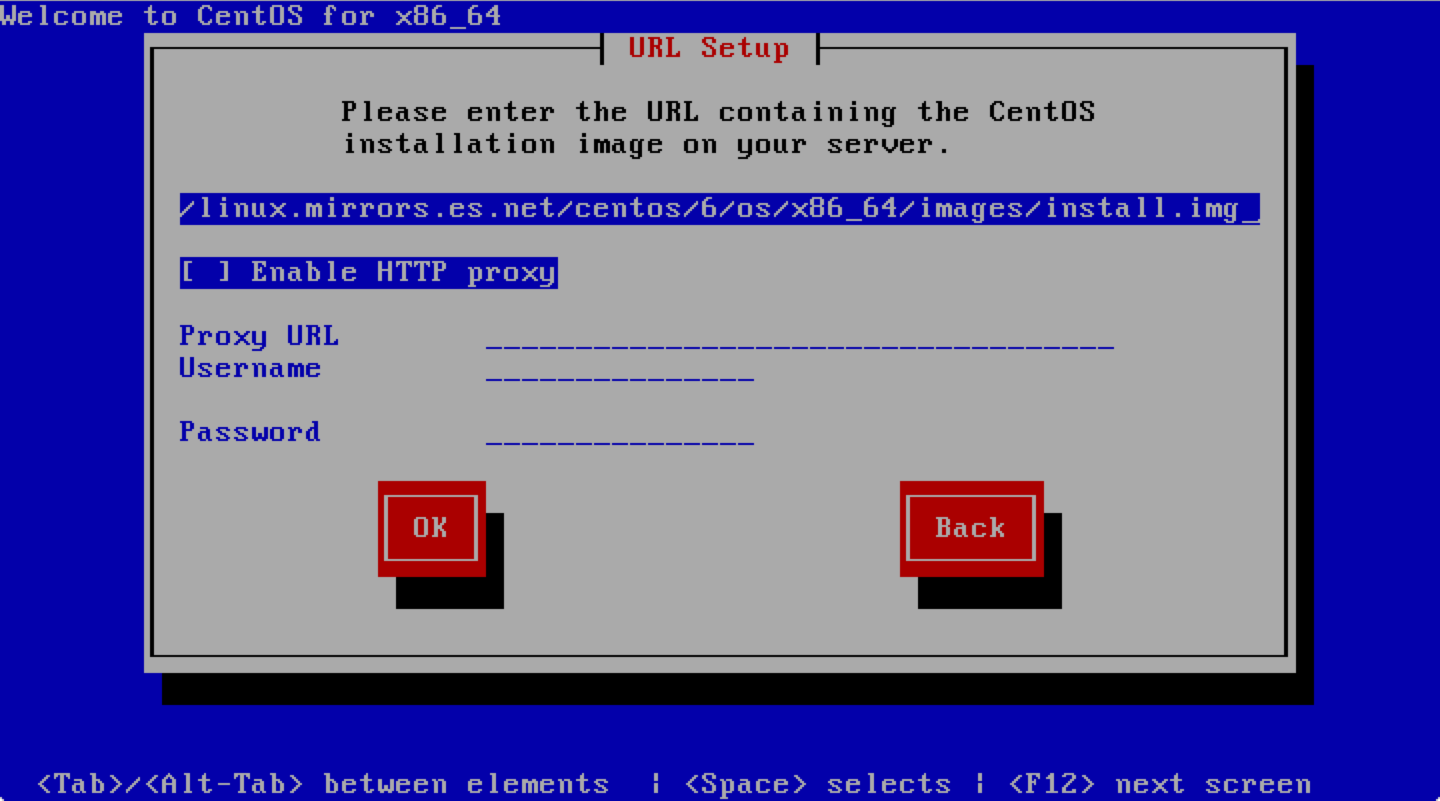
If you are not behind a web proxy, you may see the welcome screen and return to the regular instructions. If you are behind a web proxy you may enter that information in the screen presented (shown below). After this screen you should be presented with a welcome screen. If not you should check your settings and network connection.
Note
After installation you may need to re-enter the network settings. These settings are only expected for use during the installation process and may be discarded once the process completes.
Note
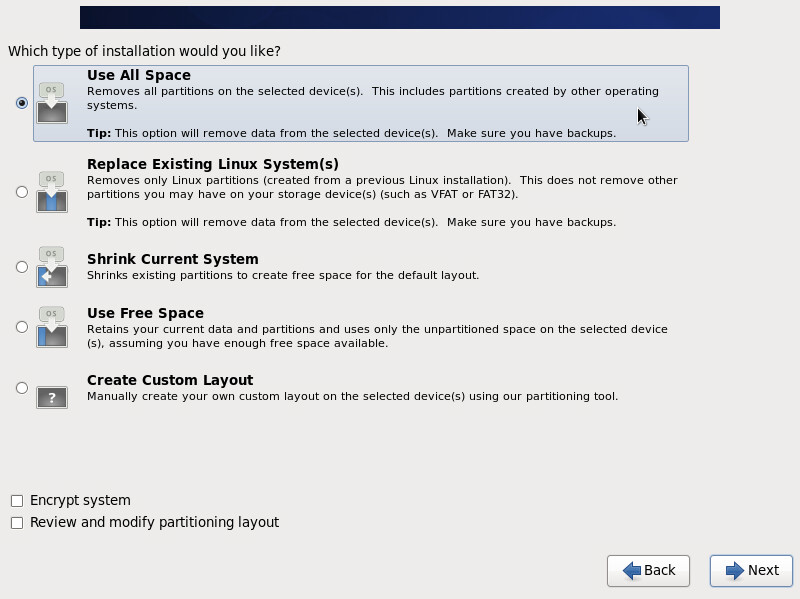
You may select the Review and modify partitioning layout checkbox to setup a custom partitioning scheme
Note
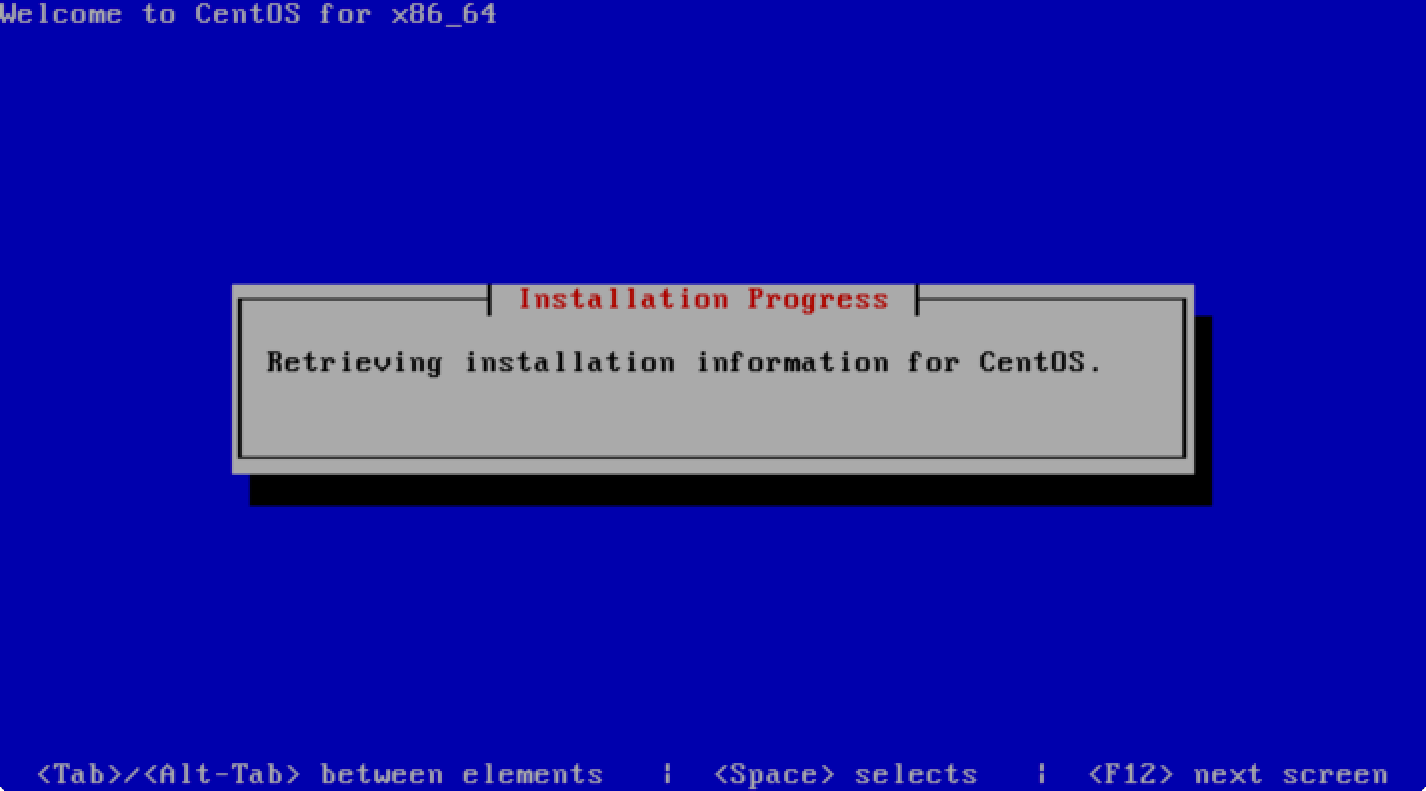
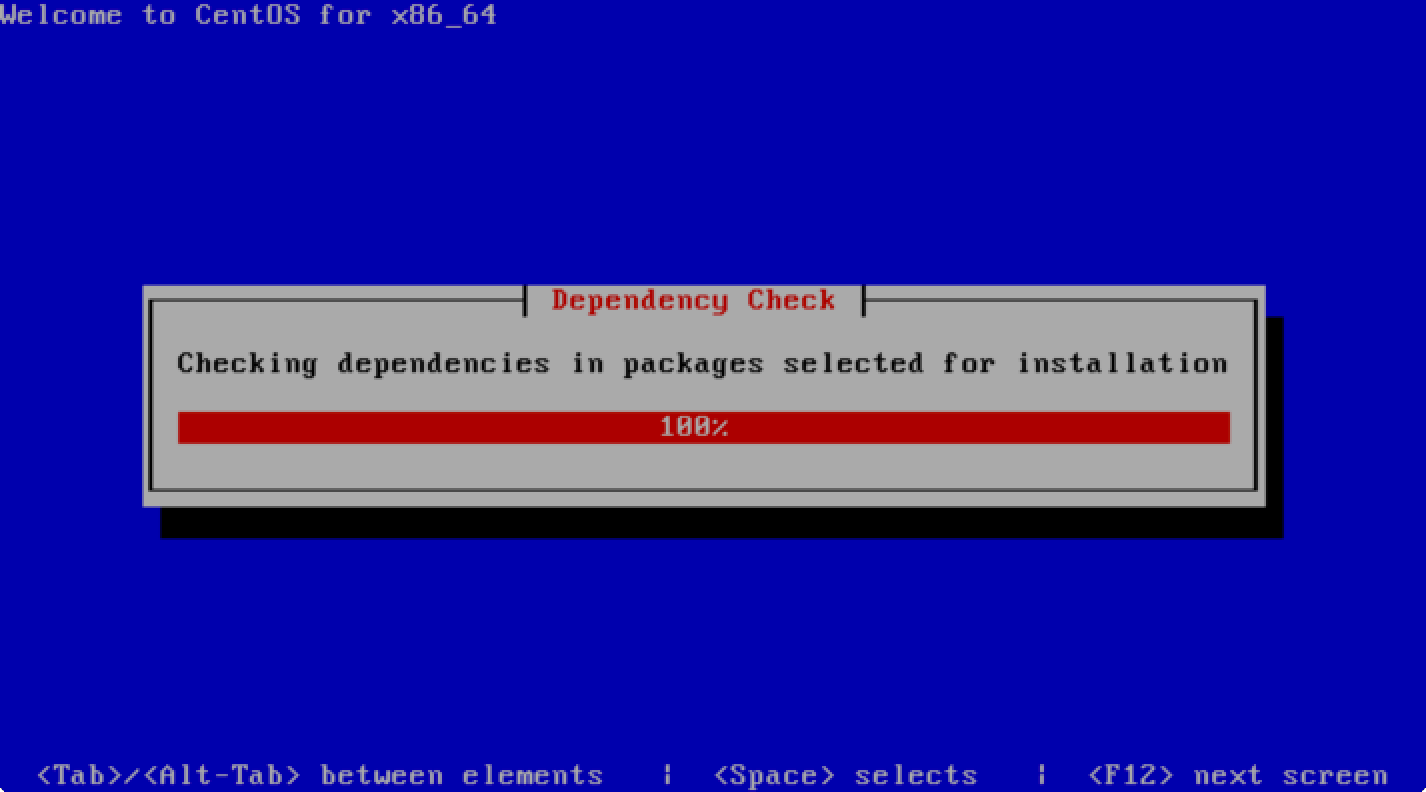
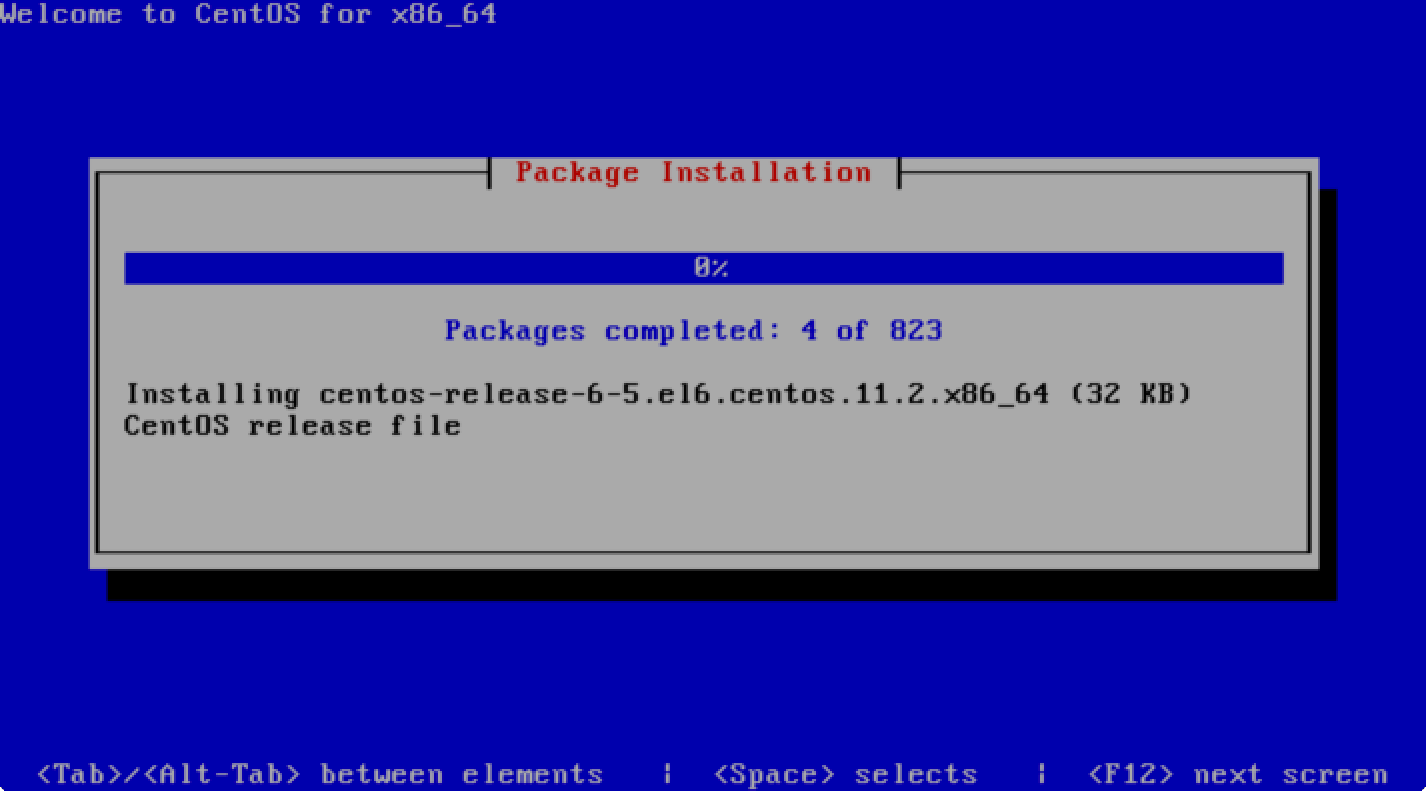
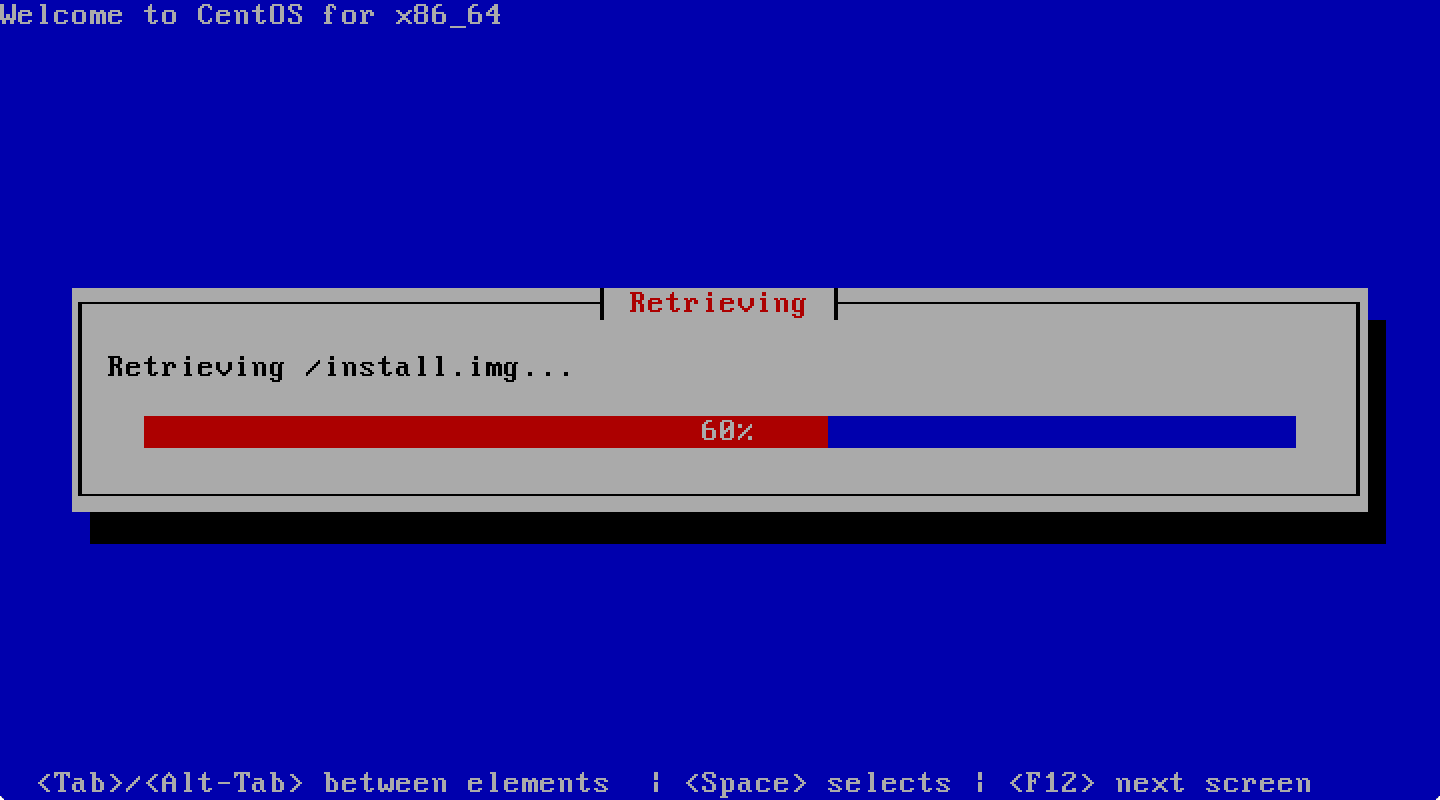
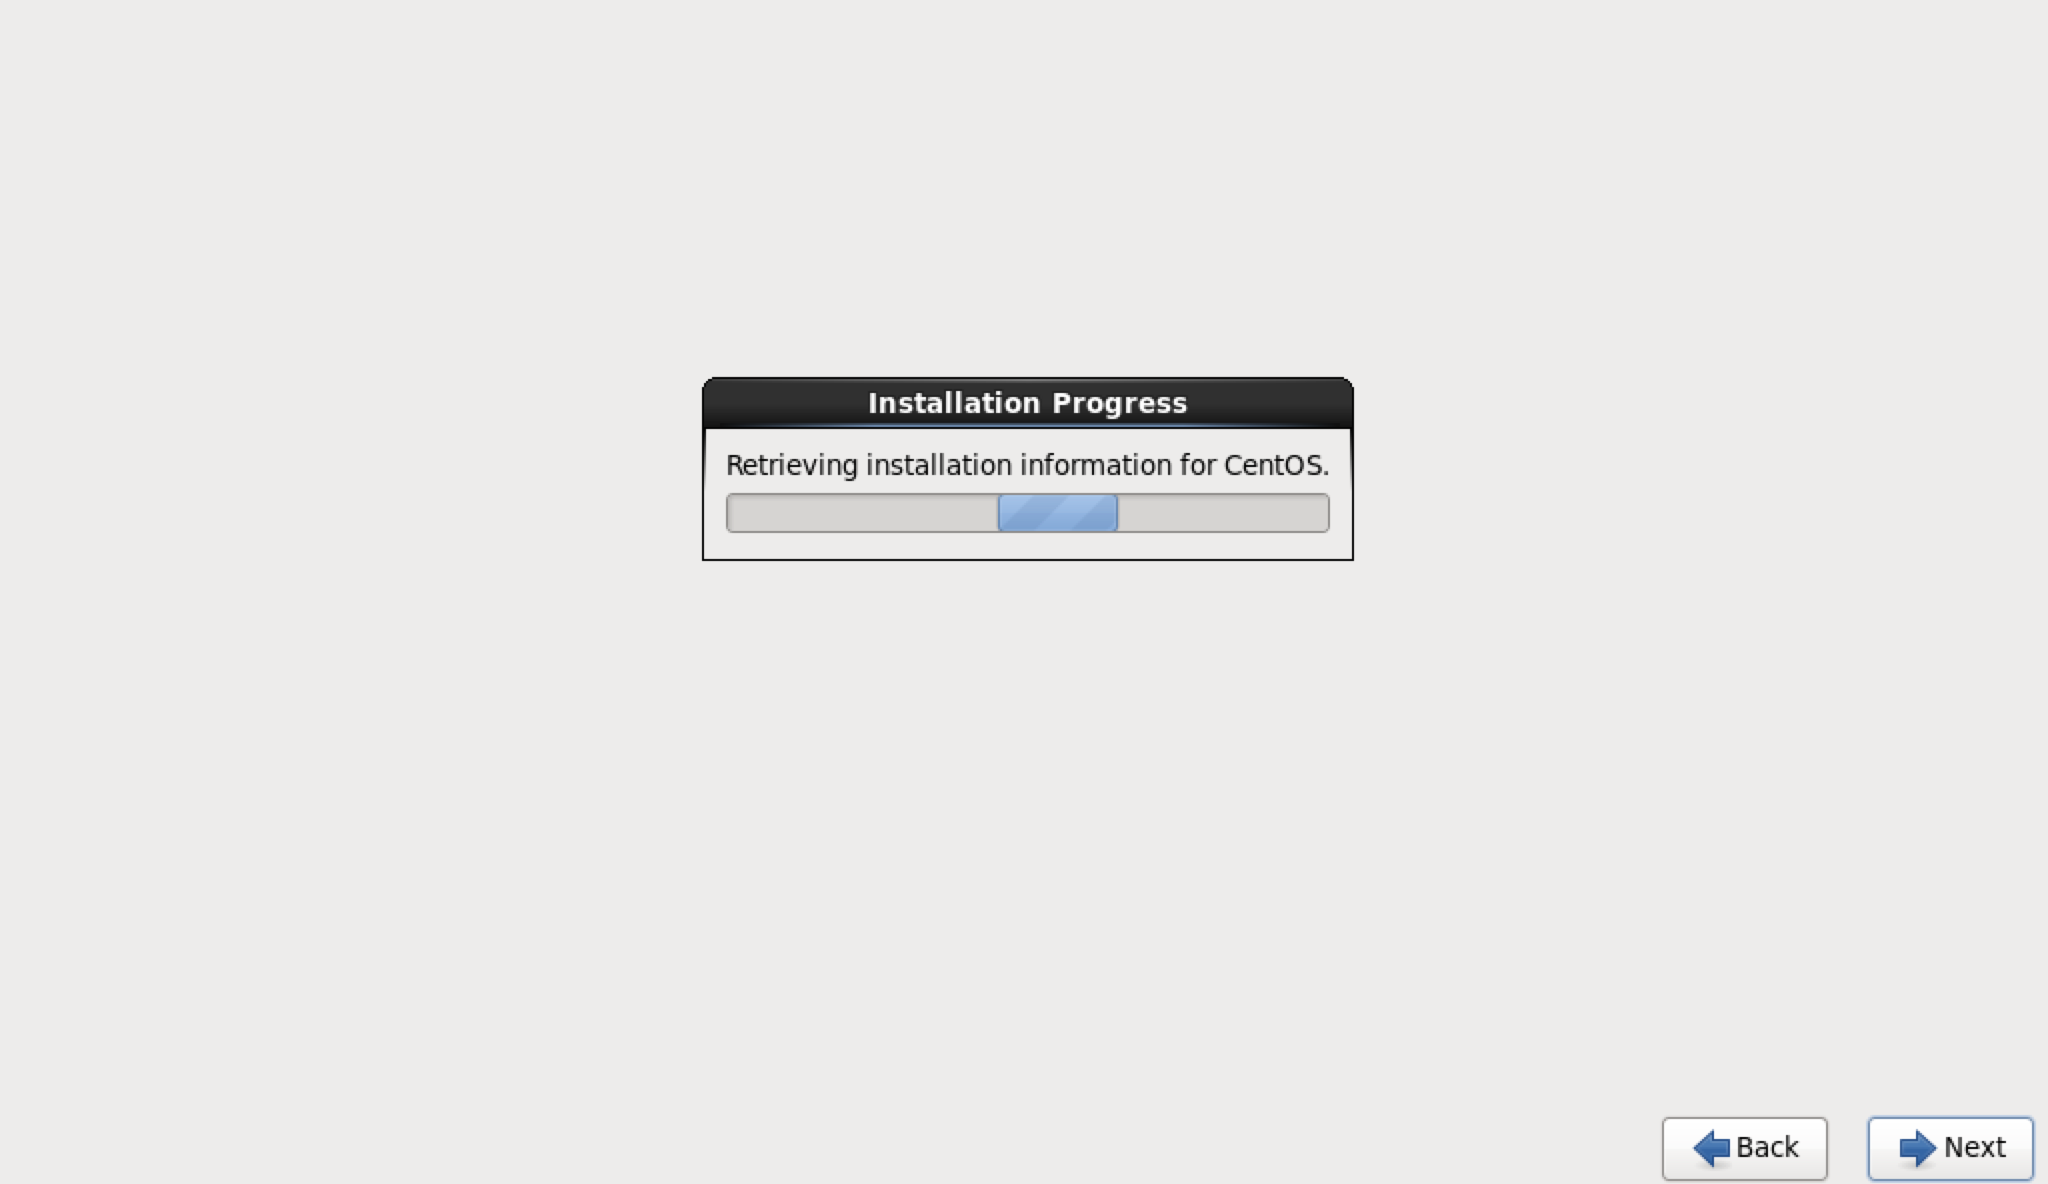
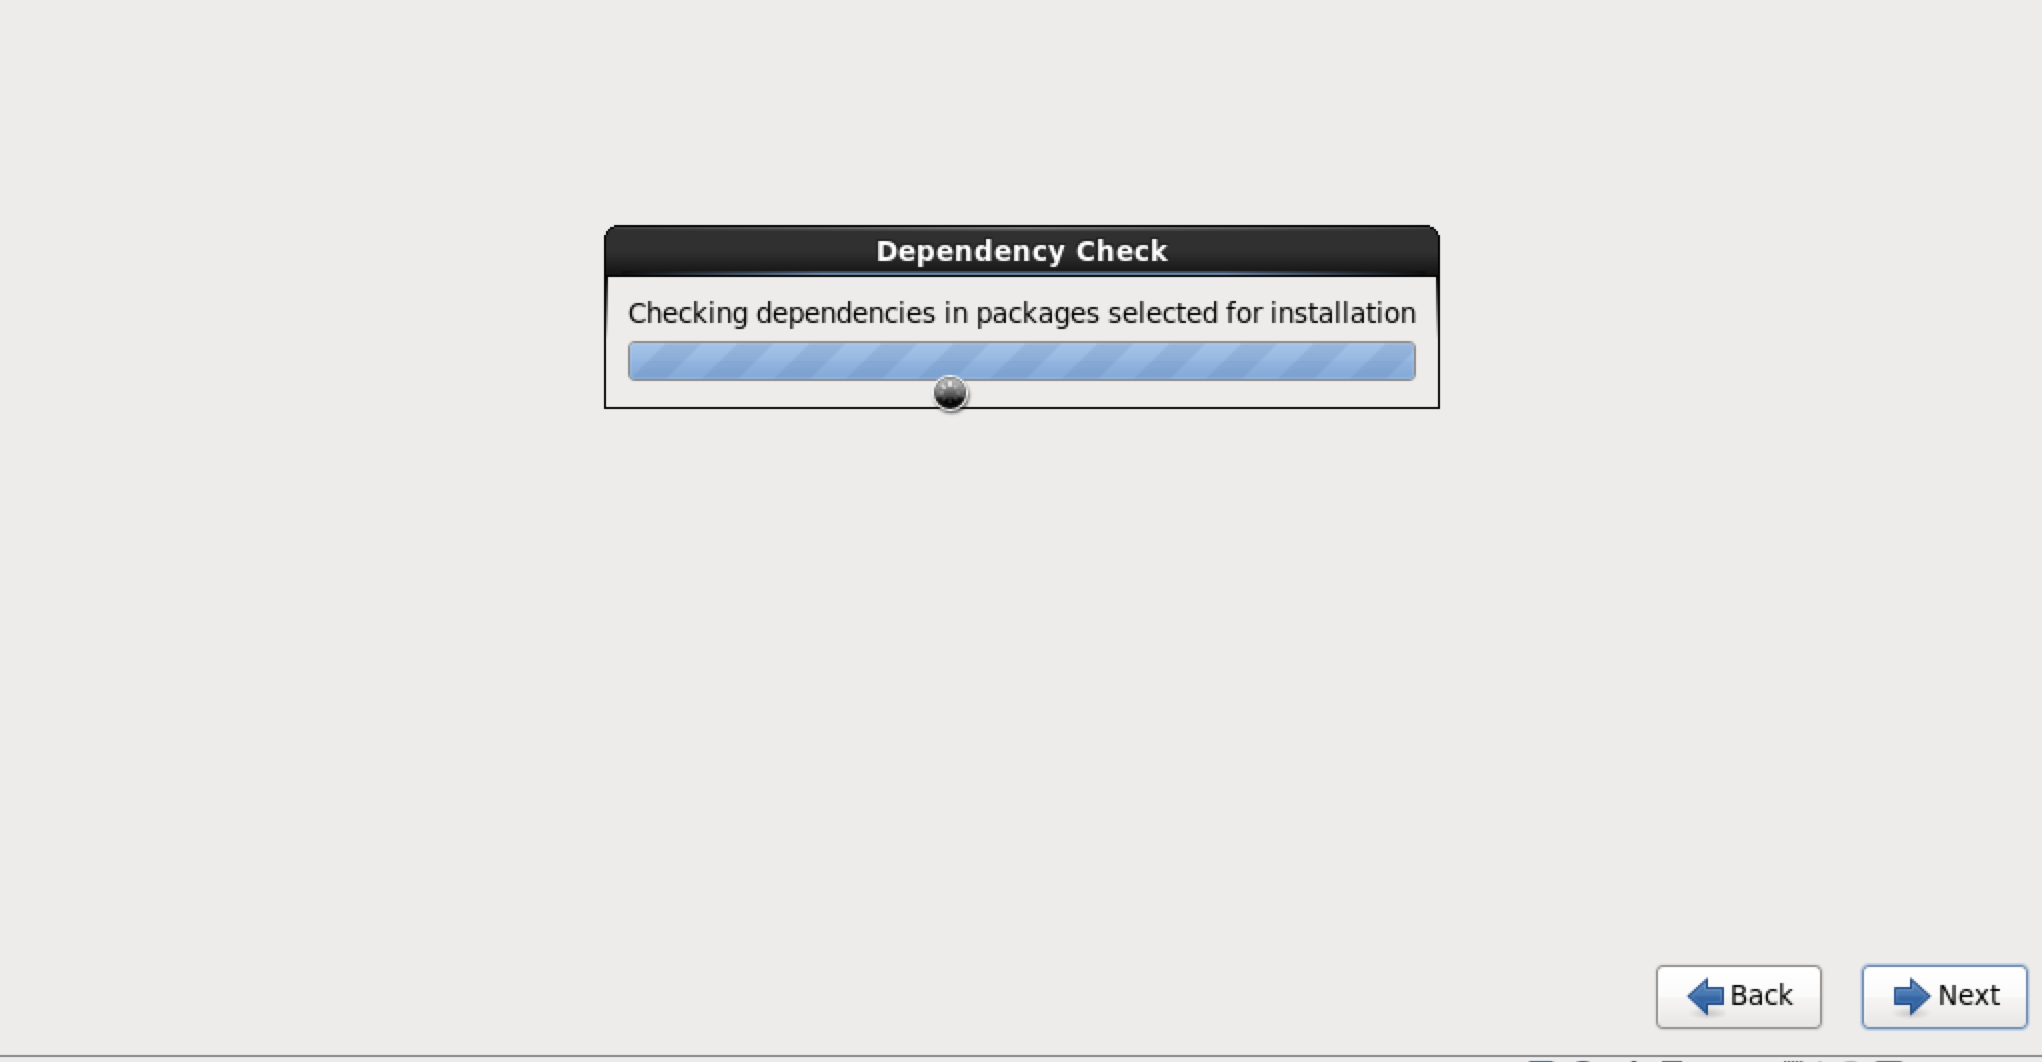
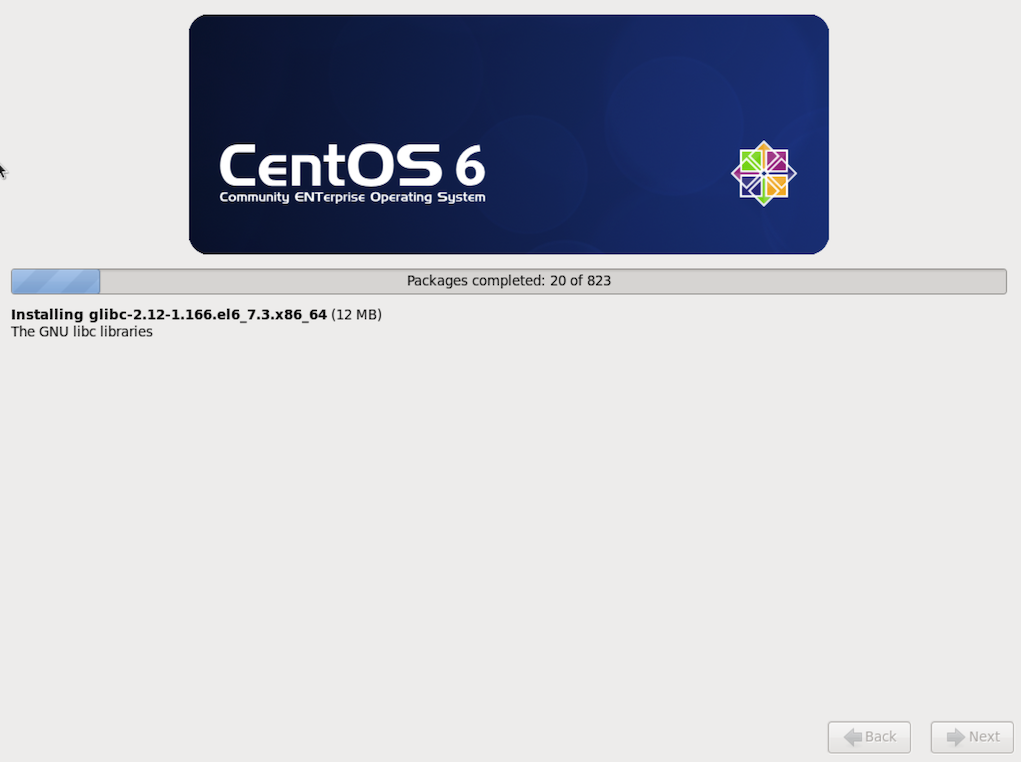
This process may take several minutes or longer depending on your network connectivity to the download server.
Special Topic: Static Networking and Web Proxies
First you will be presented with a screen asking how to configure IPv4 and IPv6 on your host. You may assign a static address by using the tab key to select Manual Configuration.
If you select Manual Configuration you will get the screen below asking you to enter the IP addresses, netmask, gateway and DNS server. Enter the required information and select OK to continue.
If you are not behind a web proxy, you may see the welcome screen and return to the regular instructions. If you are behind a web proxy you may enter that information in the screen presented (shown below). After this screen you should be presented with a welcome screen. If not you should check your settings and network connection.
Note
After installation you may need to re-enter the network settings. These settings are only expected for use during the installation process and may be discarded once the process completes.


Note
This process may take several minutes or longer depending on your network connectivity to the download server.